As children grow, they’re naturally inclined to explore more, which often makes them want more control over their appearance. Unlike experimenting with clothing and getting their ears pierced, it tends to get tricky when the subject of hair color comes up. A perfect way to hack it is temporary hair color for kids — a creative outlet for your little one minus the commitment and risks that come with permanent dyes.
Thanks to the growing trend toward non-toxic, water-based formulas and user-friendly DIY solutions, you can now enjoy a rainbow of choices that not only boost your child’s self-confidence but also ensure their hair remains healthy. To help cut down on your research time, we’ve gathered several options for you and your child to try out.
Jump To:What Is Temporary Hair Color?6 Options for the Best Temporary Hair Color for KidsHow to Choose the Right Temporary Hair Dyes for Your ChildFind the Best Temporary Hair Color for KidsFAQs
What Is Temporary Hair Color?
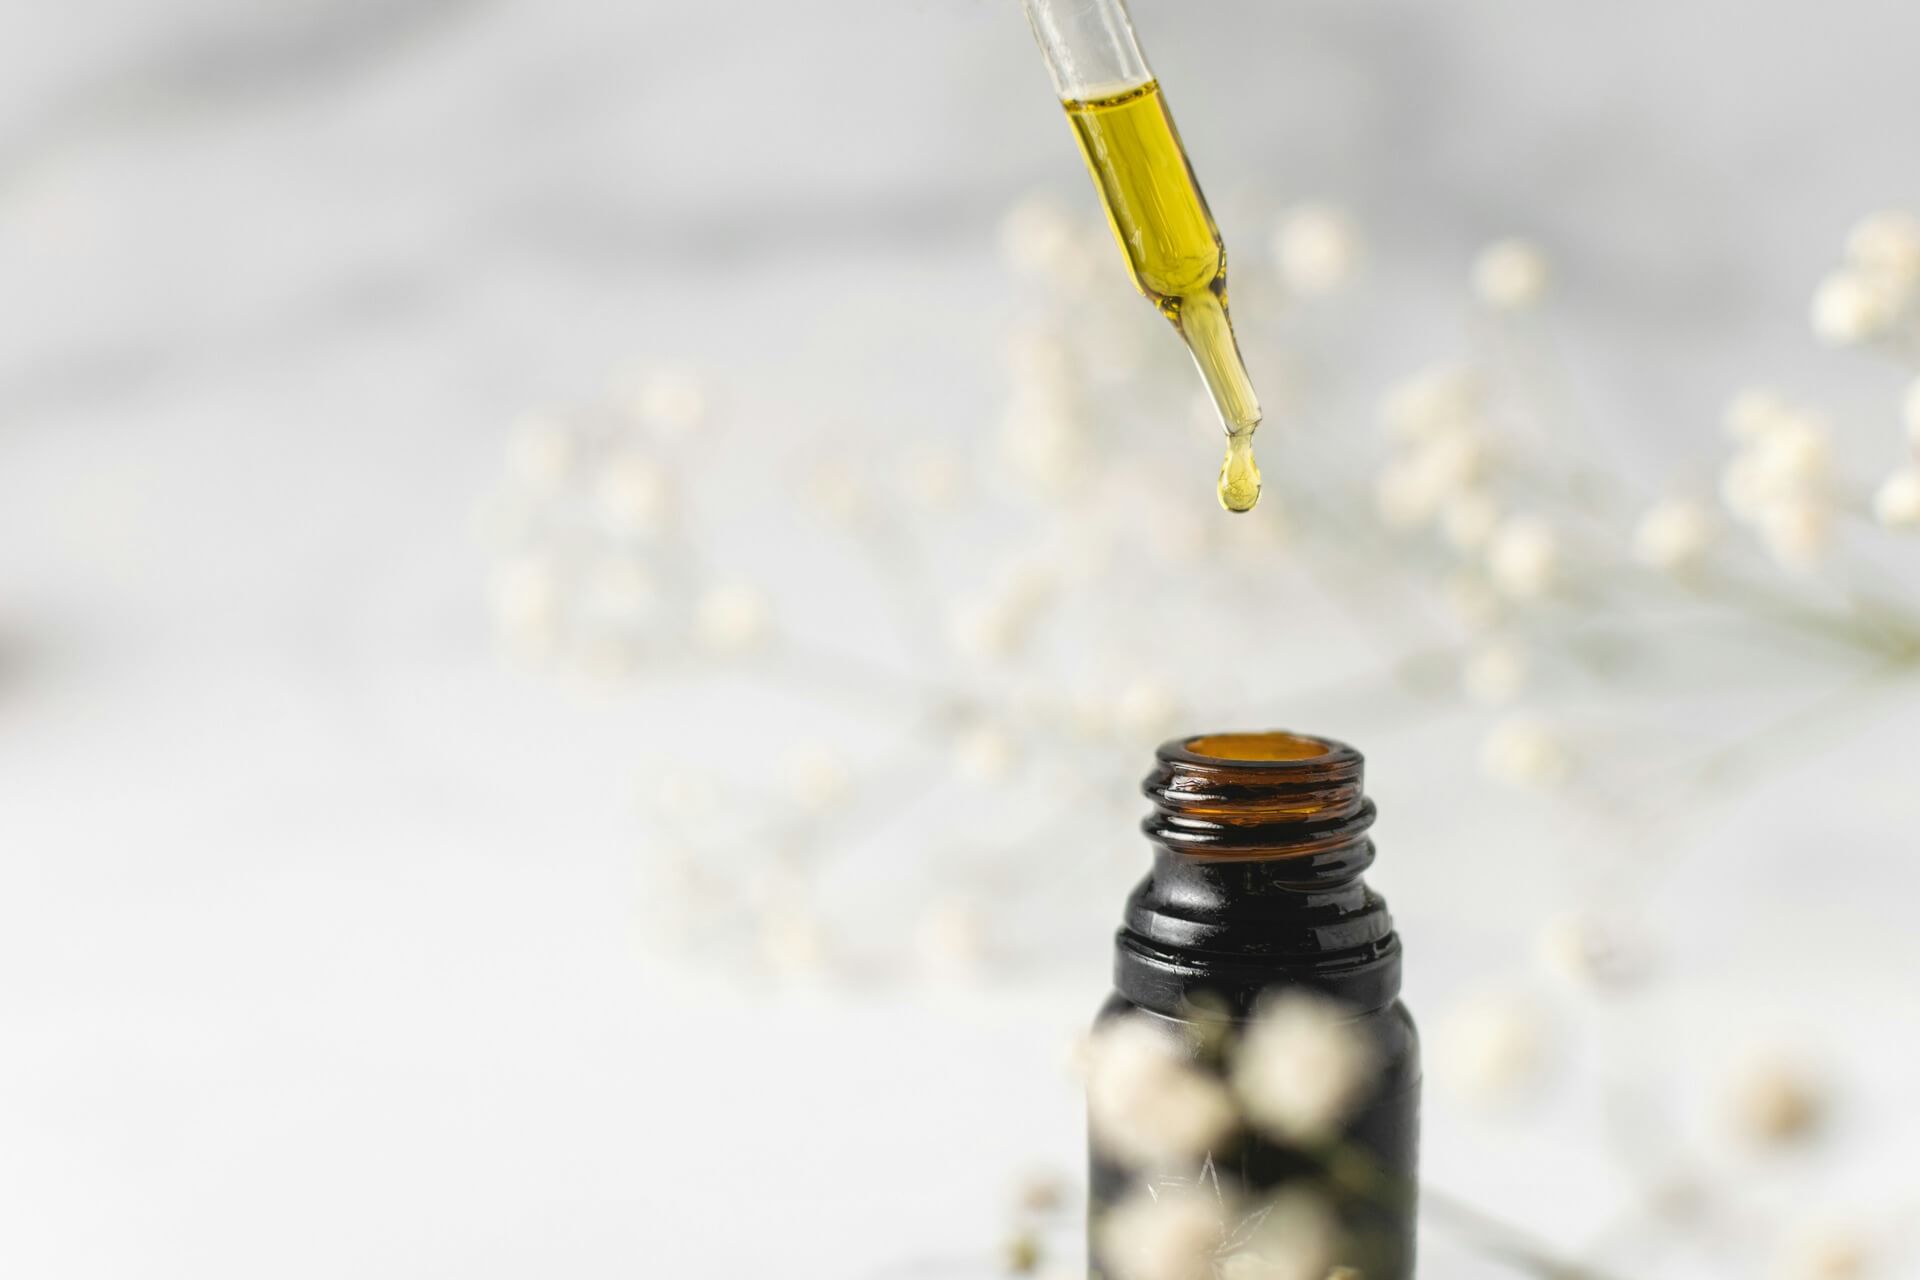
Temporary hair color is anything that alters the shade of hair without making long-term chemical alterations. Unlike permanent dyes, these products wash out after a few shampoos without having to cut off hair to regrow.
They come in various forms — from professional semi-permanent dyes and sprays to chalks and waxes. Each option is tailored to minimize harsh chemical exposure while maximizing creative freedom — even if your little one accidentally leaves it on too long before rinsing.
You can buy commercial preparations or create DIY temporary hair color for kids at home using everyday household items. You can even invest in clips that let your little one add a few streaks of pink or purple for fun or school colors for upcoming cheer competitions.
Benefits of Temporary Hair Color for Kids
Temporary hair coloring goes beyond just changing a look. It has some impressive benefits for kids, including the following:
Cultivates agency: A sense of agency is your belief that your actions make a positive difference — your life isn’t up to the capricious winds of fate. A strong sense of agency is crucial to psychological health, as a lack of it can trigger anxiety and depression.
Inspires a sense of belonging: Friend groups and sports teams often show unity through similar hairstyles or team colors. Temporary hair color lets kids participate in these bonding experiences.
Allows self-expression: Children often face enormous pressures to conform. The best temporary hair colors for kids allow your little one to express their personality and mood, even if their school has a strict uniform policy.
Inspires self-confidence: Children who feel good about their appearance display greater confidence, which supports healthy social development and self-esteem.
Boosts creativity: From clip-in extensions to DIY solutions, kids can personalize their style with ease, developing their artistic exploration outlets.
Teaches hair care: Using temporary color products can introduce children to proper hair care routines and product application skills.
6 Options for the Best Temporary Hair Color for Kids
The best temporary hair color for kids may depend on how you use it. For example, someone on the swim team is better off choosing a semi-permanent dye rather than a 1-day paint. Here are six options to consider when letting your little one transform their locks.
1. DIY Kool-Aid Hair Dye
If you don’t want to spend a lot of money, you’re in luck because you might already have the ingredients for this next one in your cupboard. Kool-Aid is a fun and safe way to dye your child’s hair temporarily.
Make a concentrated mix with water and let your child’s hair rest in the mixture for at least 10 minutes before rinsing. If you want to dye large swathes of their hair, mix it with conditioner and paint it on like regular dye. Red, purple and blue Kool-Aid shades tend to last longer than yellows or greens. The color typically lasts a few weeks, fading with each wash.
Drawback: Food-grade Kool-Aid can temporarily stain skin, clothing and bathroom surfaces, so protect them during application. Make sure you wear gloves, or your hands will match their hair. This method also only works well on blond and light brown hair.
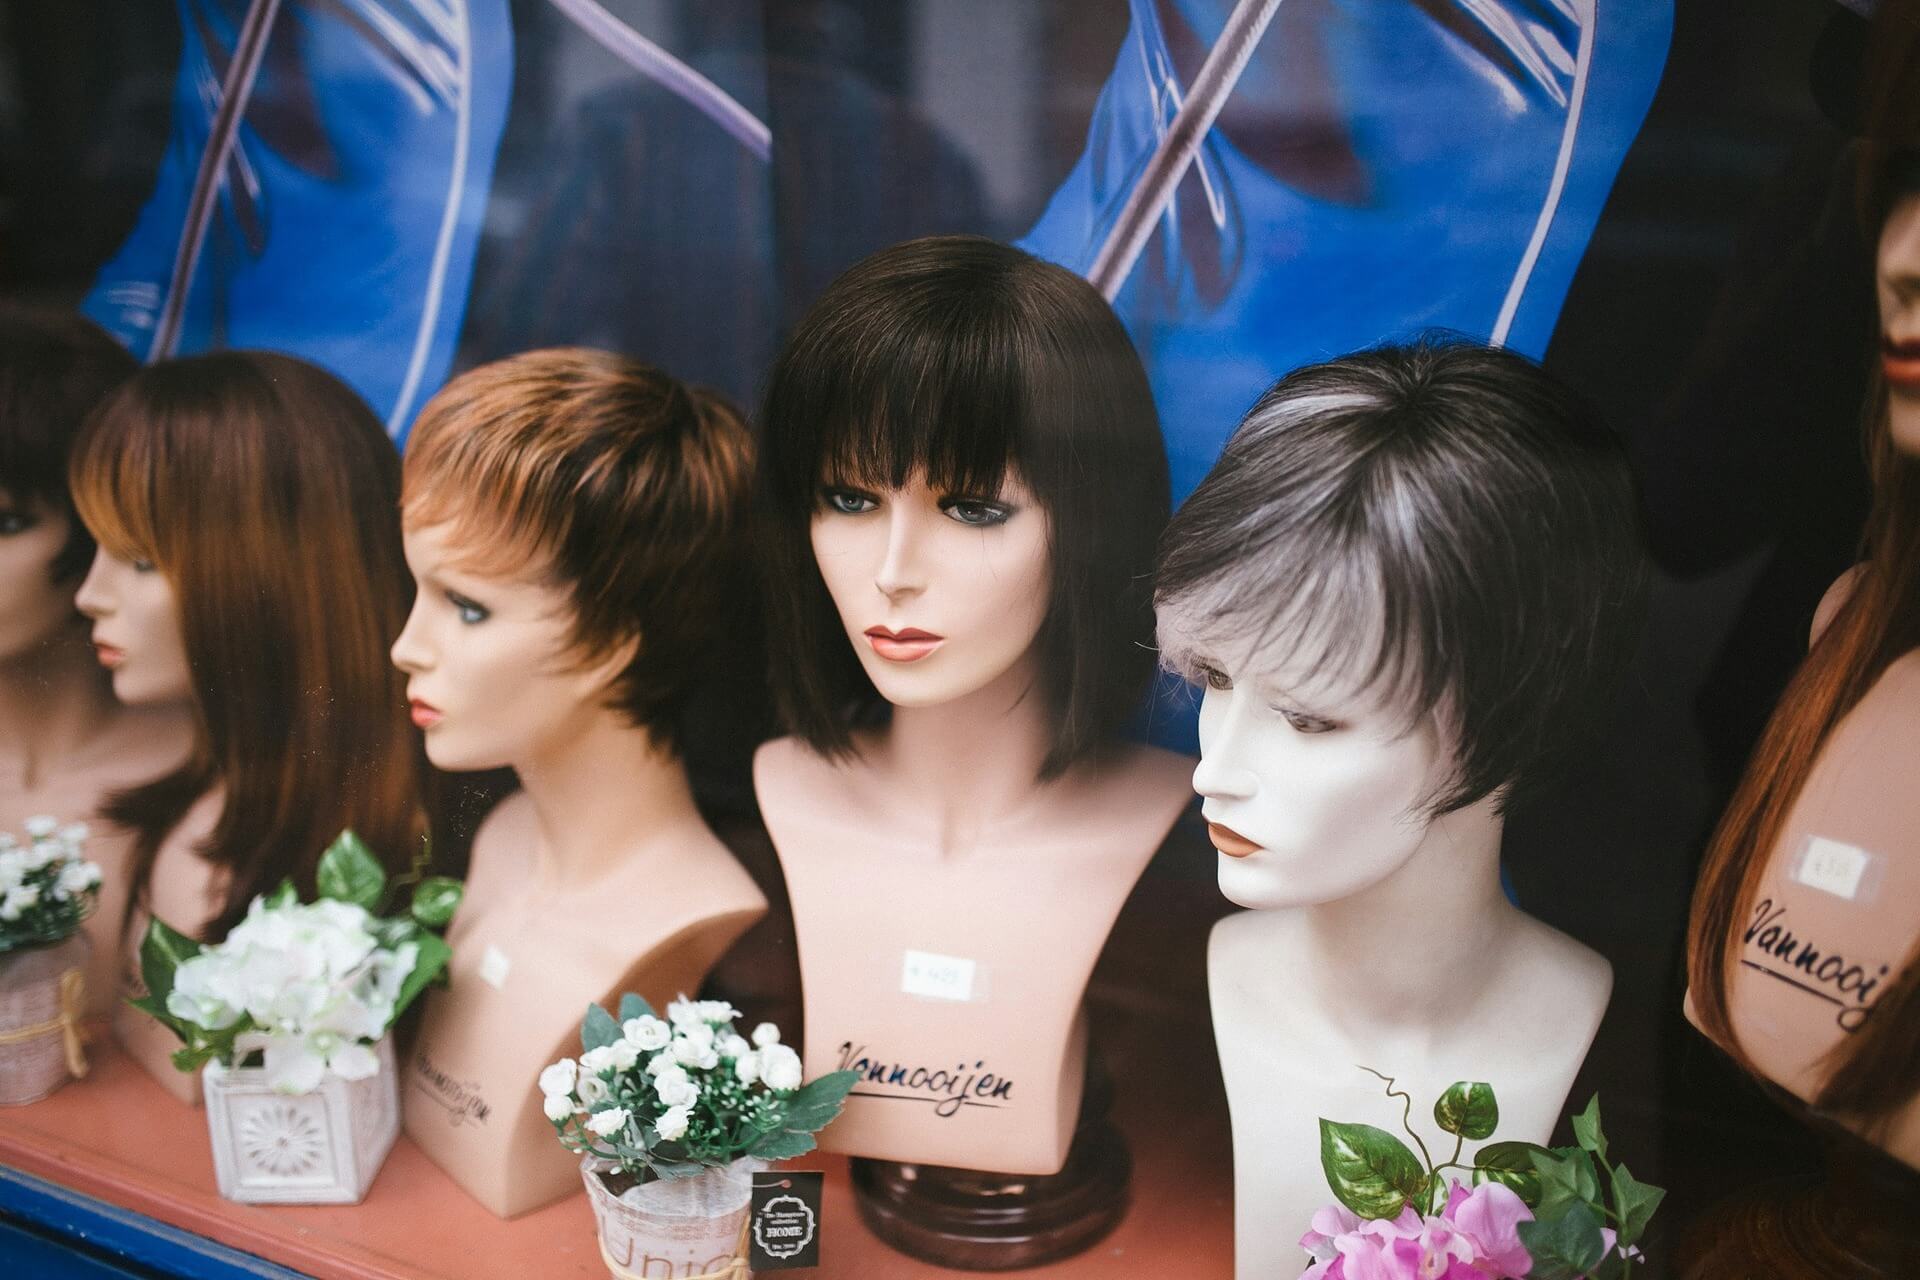
2. Clip-In Hair Extensions
For the most temporary hair color for kids, purchase some clip-in hair extensions. You can find versions of these just about anywhere. Plus, they come in a multitude of colors, lengths and finishes — perfect for all creative ideas. Your kiddo can have glittery pink highlights one day and a black bun the next. There’s no limit to the creativity they can express with this mix-and-match option.
Some of the best clip-on hair extensions you can find for a low cost include:
SWACC 22-pcs colored party clip-ins deliver 11 shades with two strands of each to easily add purple or yellow streaks.
FENTISAR 18-pack party clip-in hair extensions come in gorgeous unicorn hues.
WENNALIFE hair tinsel clips create the magic of shimmers without a trip to the salon.
Application tip: Teach your child to section hair horizontally before attaching clips. Start about an inch away from the hairline for the most natural look.
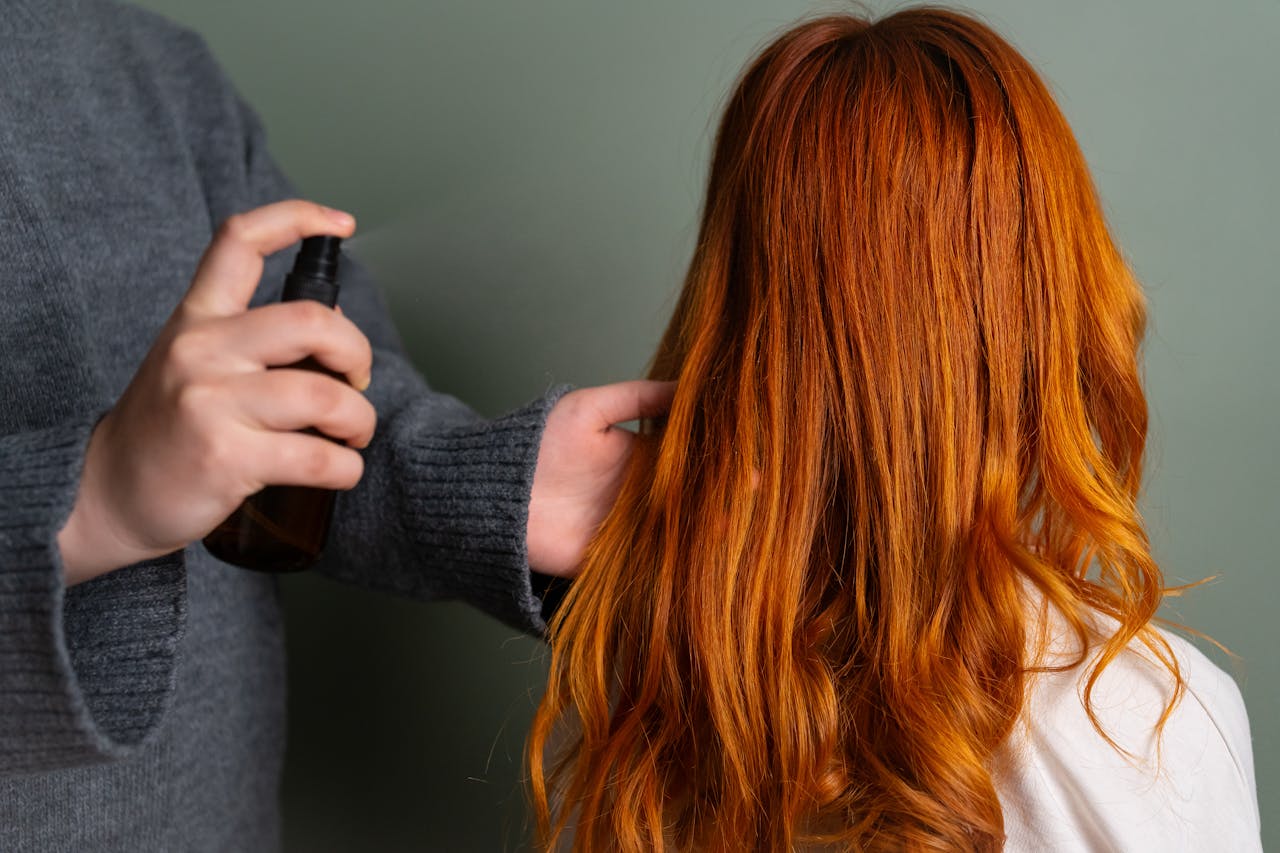
3. 1-Day Temporary Hair Color Spray
When you want a truly temporary hair color for kids, seek 1-day spray products. Many formulations come in various hues that are free of ammonia and peroxide. All you need to do is spray it onto your child’s hair, and it will stay until you wash it out. This is the perfect option for Crazy Hair Day at school or a first experiment with hair color. Some brands to try include:
Azonbay Temporary Hair Color Spray comes in 13 shades with an easy-to-spray canister.
Punky Temporary Color Spray also comes in 13 hues for instant, vivid color.
ROVEMJ One-Time Use Temporary Spray comes in six quick-drying shades.
Best practices: Spray from a good couple of inches from dry hair, moving continuously to avoid oversaturation. Use a towel to protect clothing and skin during application.
4. Hair Coloring Chalk
Hair chalk is a fairly easy method for kids to experiment with color. The best part is it typically washes out after one shampoo. All you need to do is get the hair wet and run the desired color along the strands. After depositing the chalk, blow dry the hair to seal everything in. This would be a fun activity for a kid’s birthday party or sleepover. Some brands to try include:
GirlZone Hair Chalks Set includes 10 shades in one box and comes in formulas for dark, light and brown hair.
Jim and Gloria Dustless Hair Chalk for Girls comes with 12 included colors and is specially designed for teens.
Application tip: For darker hair, apply a small amount of leave-in conditioner before chalking to help the pigments adhere better.
5. Hair Paint Wax
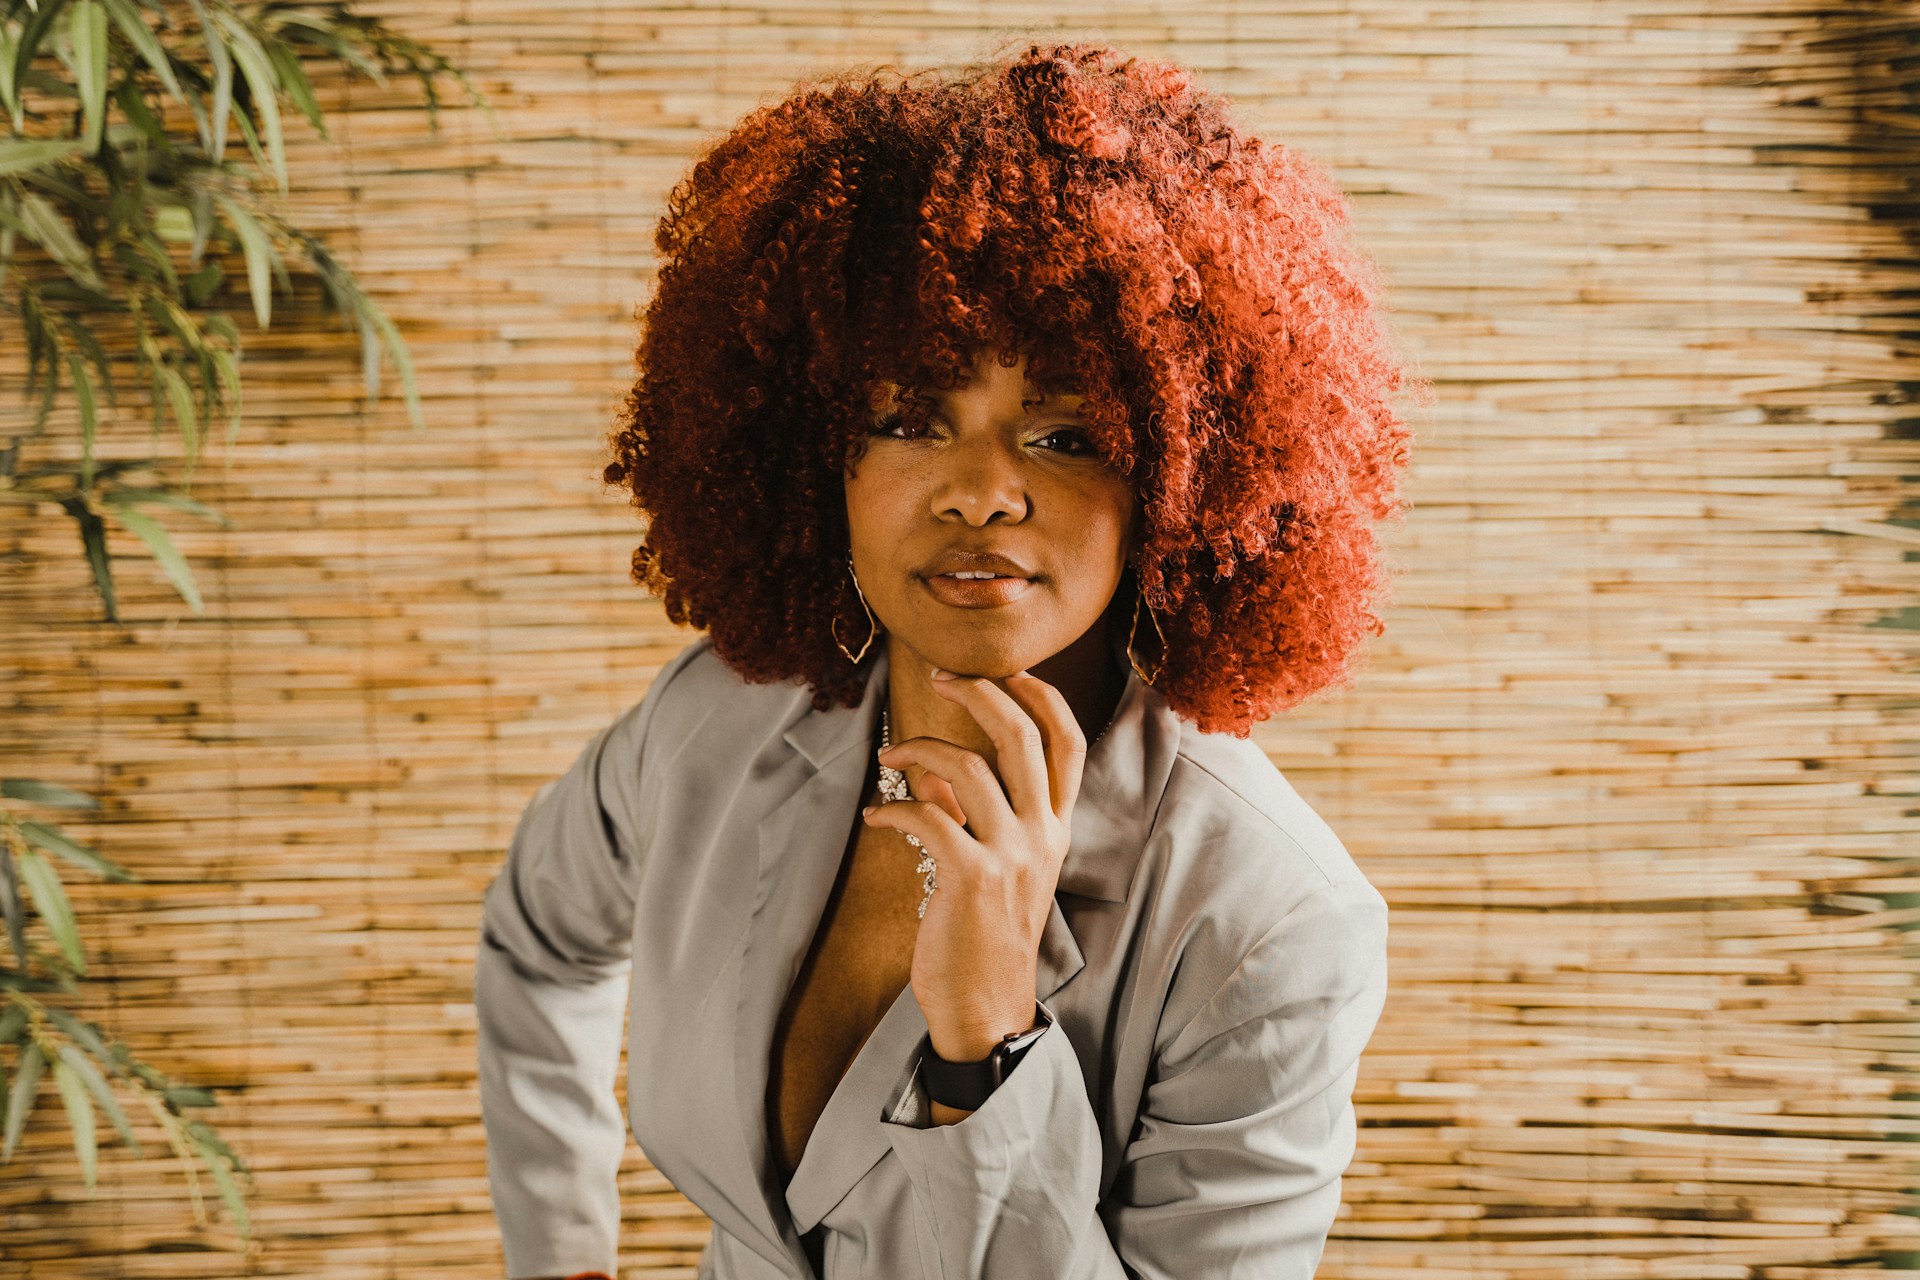
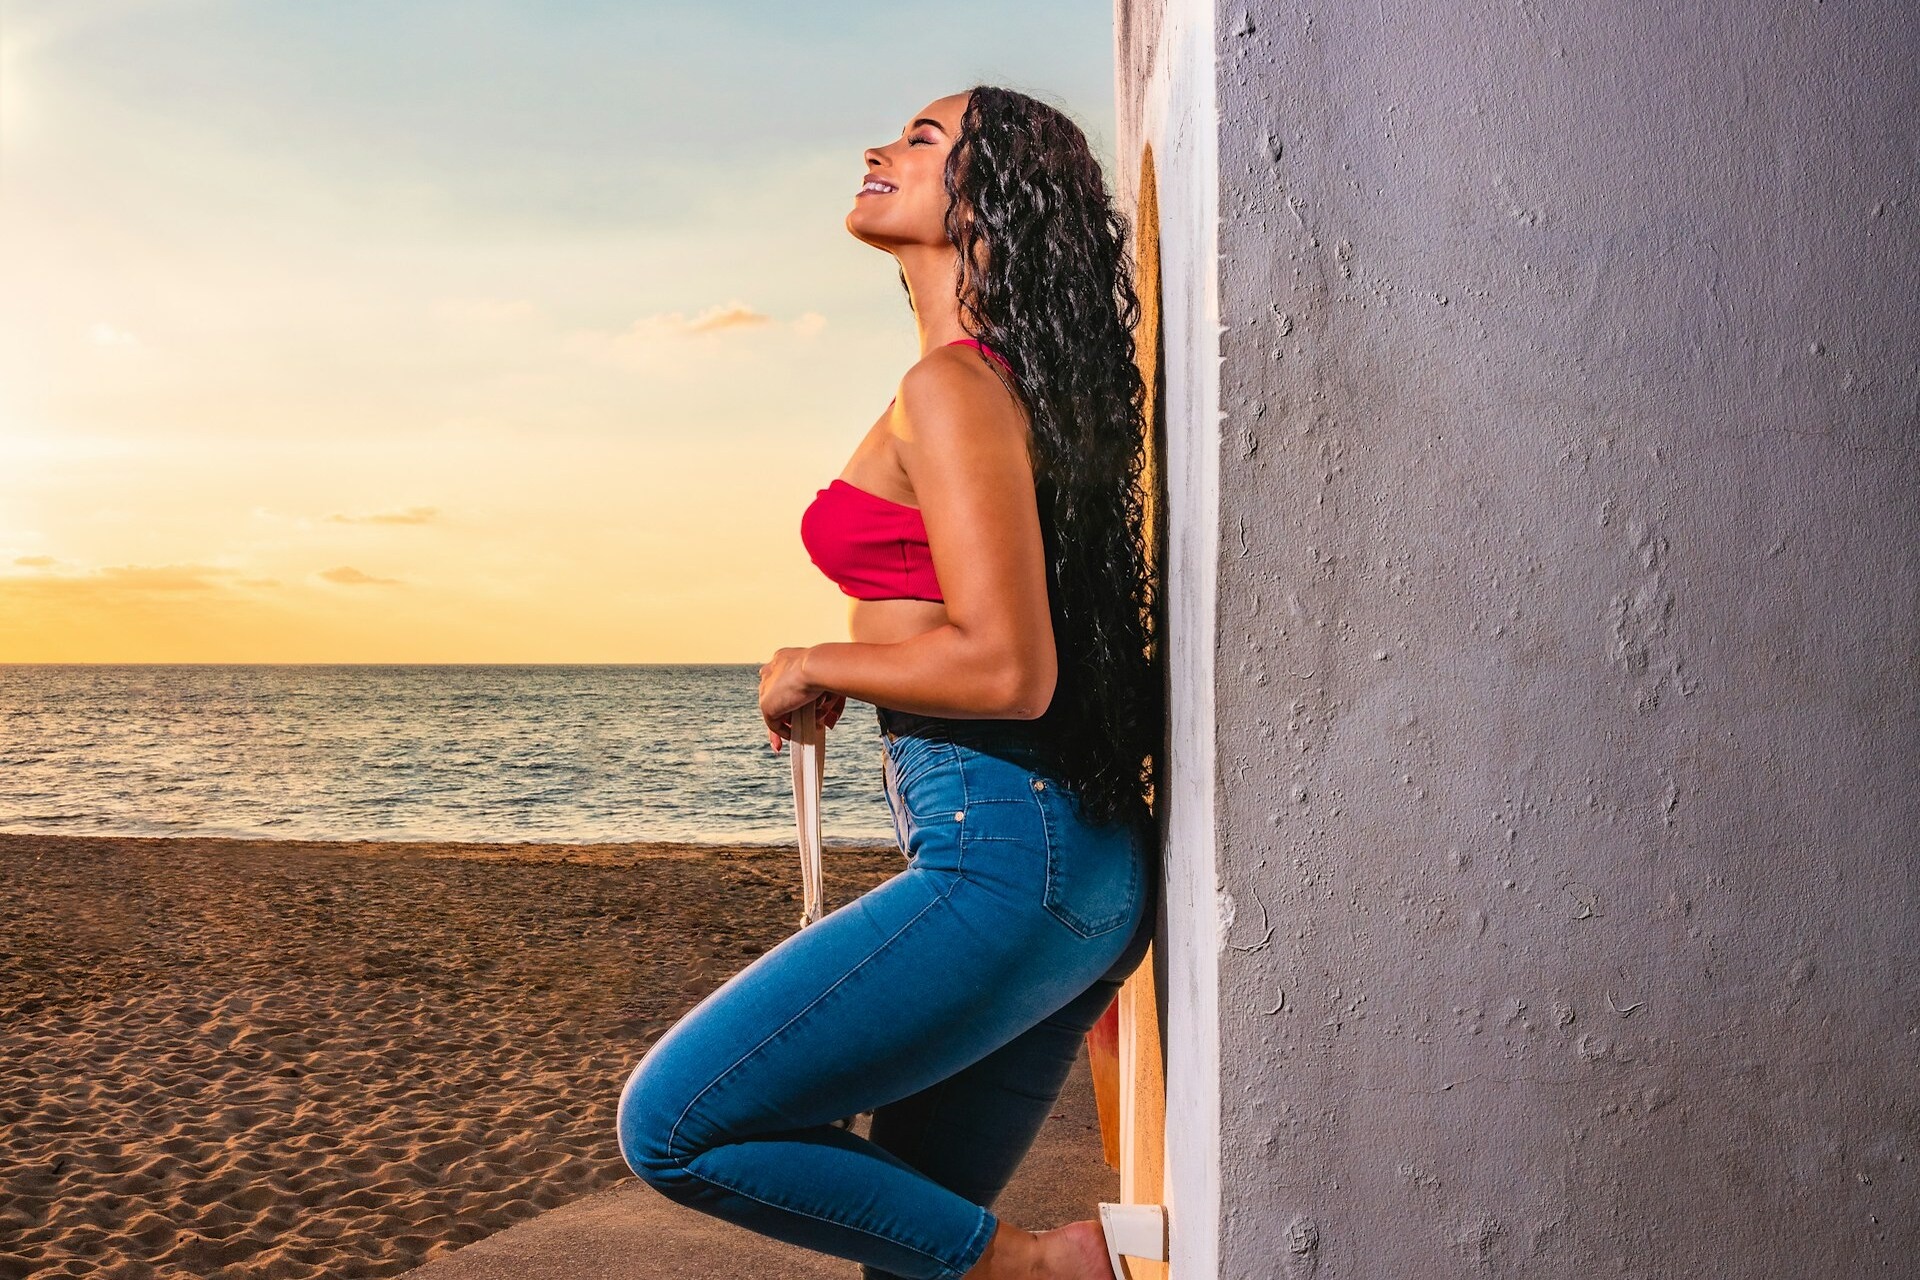
While many of these options so far work best on blonde and light brown hair, hair paint wax is designed with curly girls and dark hair tones in mind. Similar to the chalk, you’ll need to wet the strands first and then apply the wax with your fingers. Once it dries, it will stay in until you wash it out. On particularly porous hair, it may stain for a few washings. Some brands you should try include:
Color Blast Hair Wax is formulated to work on darker hair and comes in 15 shades.
Qunco 4-Colors Temporary Hair Colors Wax comes in pink, green, purple and blue for the perfect unicorn paint job.
6. Semi-Permanent Conditioning Hair Colour
If your child has identified a color they love and want to try it more permanently, you could go with a semi-permanent dye. Like many chalks and sprays, these work best on light-colored hair. Achieving the hue shown on the box requires bleach on darker strands, which permanently alters the lock’s natural color. However, you’ll get gorgeous highlights and a hint of the right shade is a good way to try it before committing to a permanent job.
Manufacturers have designed the following with the younger crowd in mind:
Adore Semi-Permanent Hair Color is vegan and cruelty-free.
Good Dye Young Streaks and Strands lasts for 15 to 24 washes and offers UV protection.
Safety note: Always do a patch test 48 hours before application, even with gentler, semi-permanent formulas.
How to Choose the Right Temporary Hair Dyes for Your Child
When selecting a temporary hair color product, consider the following to make the right choice:
Hair type and color: Darker hair requires more pigmented products like hair wax or specially formulated chalk.
Age appropriateness: Younger children (under 8) may do better with clip-ins or quick-wash products, while older kids can manage the application process of semi-permanent options.
Ingredient sensitivity: Check ingredients carefully and conduct patch tests, especially if your child has sensitive skin or allergies.
Occasion: For a one-day event, sprays or chalks are ideal. Semi-permanent dyes might be better for longer-lasting color.
Maintenance level: Consider how much time you're willing to spend on application and removal when choosing products.
Find the Best Temporary Hair Color for Kids
Buying a new wardrobe is expensive, and piercings are permanent. However, experimenting with temporary hair color lets your kids test out new looks without lasting effects or breaking the budget. You have a range of options at your disposal, from clip-in extensions, an extremely temporary hair color for kids, to semi-permanent dye, which lasts a couple of months.
FAQs
1. What is the best temporary hair color spray for kids?
The best option is a 1-day temporary hair color spray that’s free of harsh chemicals like ammonia and peroxide.
2. What is a safe temporary hair color for kids?
A safe temporary hair color for kids is one formulated with non-toxic, water-based ingredients and free from harsh chemicals. Products that have undergone patch tests and are designed specifically for sensitive scalps are recommended.
3. What are some DIY temporary hair colors for kids?
DIY options include Kool-Aid dye, food coloring with conditioner, colored gelatin made from mixing unflavored gelatin with food coloring, beetroot juice and turmeric paste.
4. What is the best temporary pink hair dye for dark hair for kids?
Hair paint wax is the most effective option for darker hair. It is specially designed to provide vibrant color on darker strands. Go for brands that offer formulas in various shades, including a striking pink.
5. Is temporary hair dye ok for kids?
Yes, temporary hair dye is generally safe for kids when you choose products specifically formulated for them. Always read the label, perform a patch test and follow the application instructions carefully to ensure a safe and fun experience.
TL;DR
Temporary hair color offers kids a safe way to express creativity without permanent changes. The six safest options include DIY Kool-Aid dye, clip-in extensions, 1-day color sprays, hair chalks, hair paint wax and semi-permanent conditioning colors. Just remember to always check ingredients, do patch tests and consider your child's hair type to choose the best temporary hair color for kids.
Originally published August 10, 2023. Updated February 28, 2025.