

Body + Mind is reader-supported. We may earn an affiliate commission when you buy through some of the links on our site.
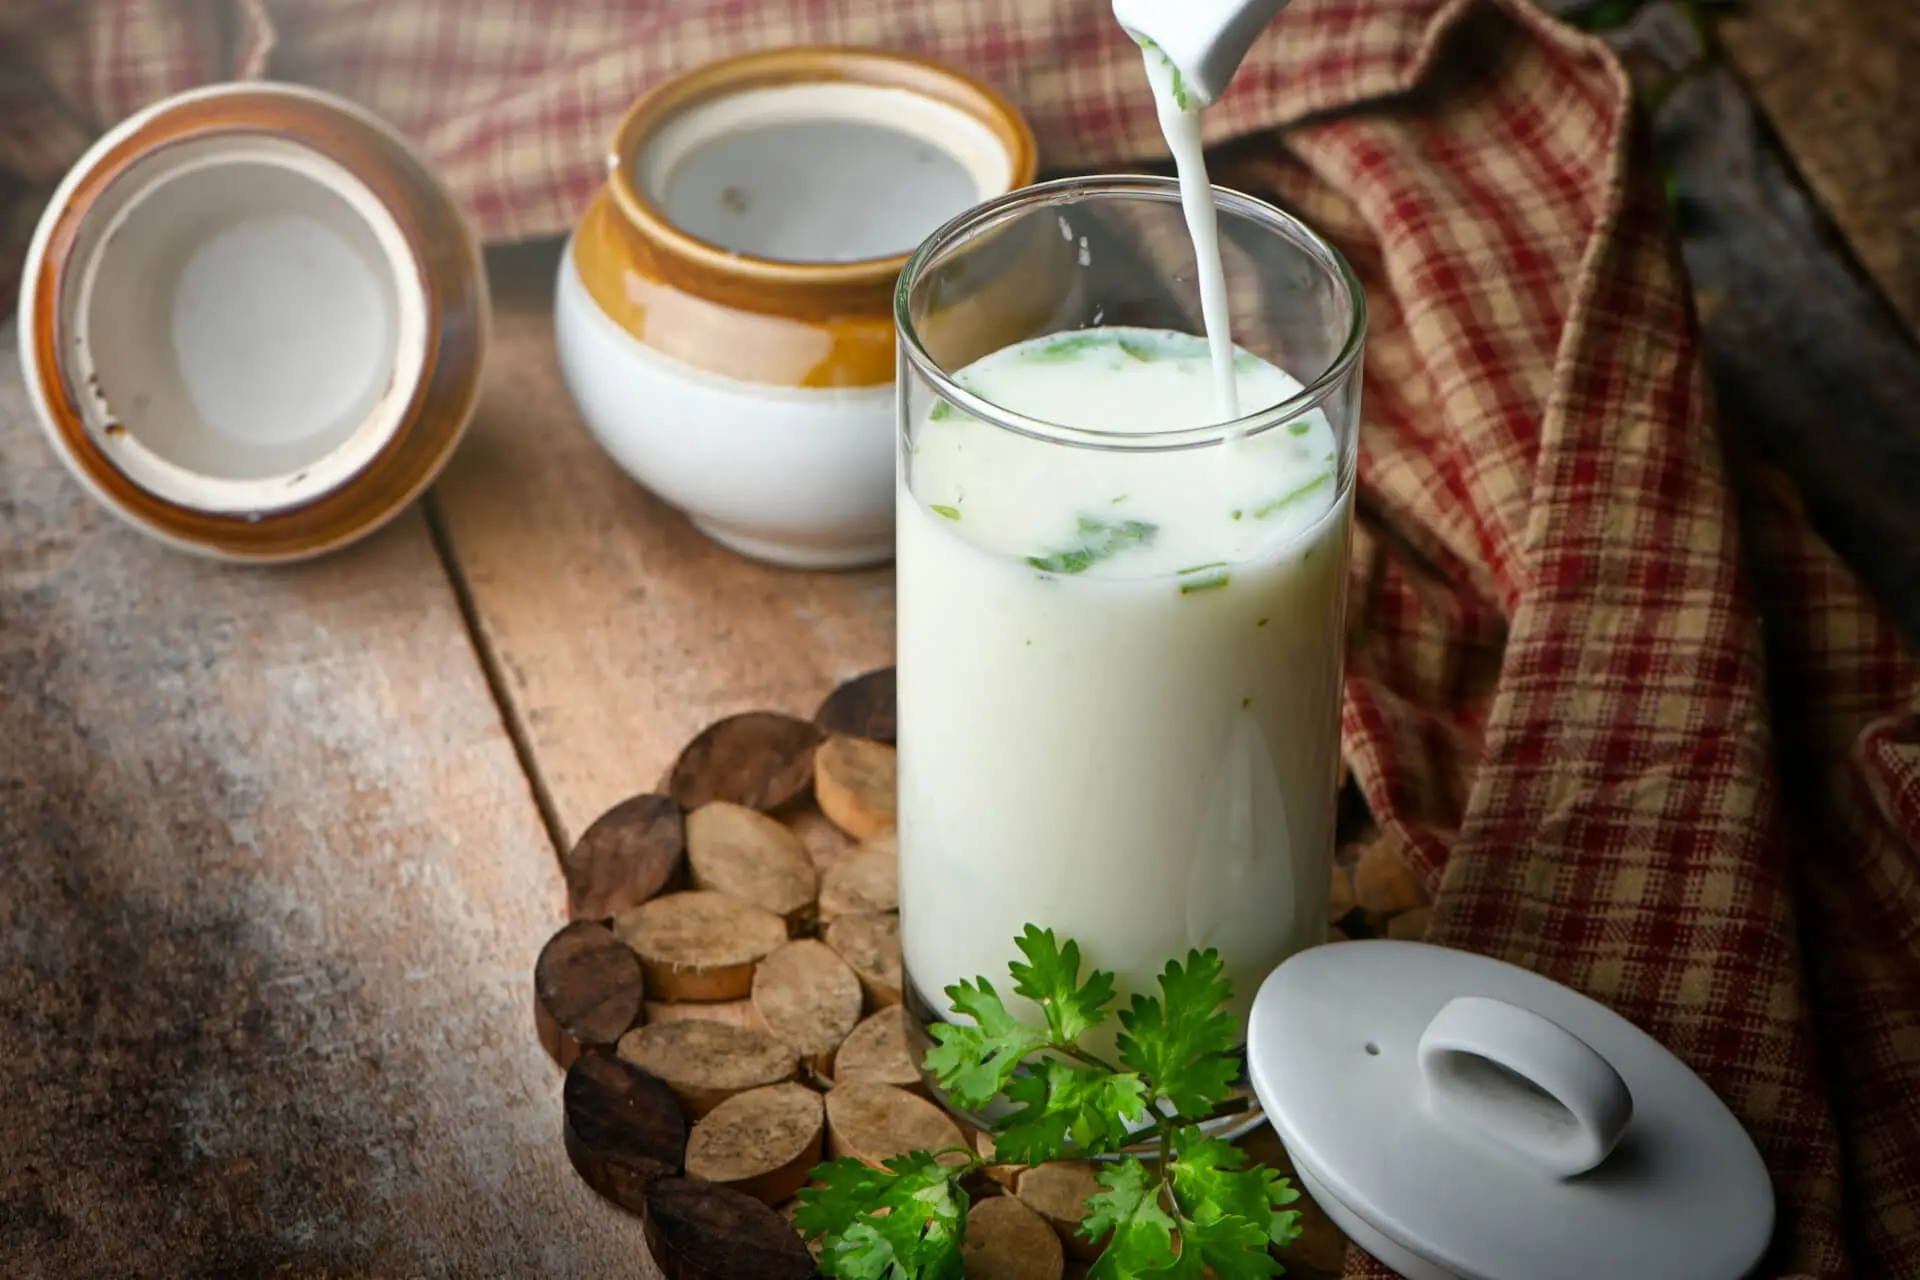
If you have spent any time online lately, you have probably seen kefir mentioned in the same breath as sourdough starters and kombucha mothers. This tangy, drinkable yogurt cousin has quietly become one of the most talked-about foods in the gut health world, and for good reason. It is easy to make, forgiving for beginners and packed with a diverse mix of live cultures that your gut will thank you for. Here is everything you need to know to start brewing it yourself.

You make kefir by combining kefir grains, small clusters of bacteria and yeast that form a living protein matrix, with milk to ferment it. Over a day or two at room temperature, those grains transform ordinary milk into a tart, slightly fizzy beverage loaded with probiotic diversity. Unlike yogurt, which typically contains a handful of bacterial strains, kefir can host dozens of microbial species working together. Its roots trace back thousands of years to the Caucasus Mountains, long before anyone understood the science behind it.
That diversity is part of what excites researchers. After just a few weeks of regular consumption, kefir can produce notable shifts in gut bacteria among healthy adults, a sign that this centuries-old drink remains relevant to modern digestive health. Diet plays one of the largest roles in shaping the makeup of your gut bacteria, which is exactly why small daily additions like kefir can add up over time.
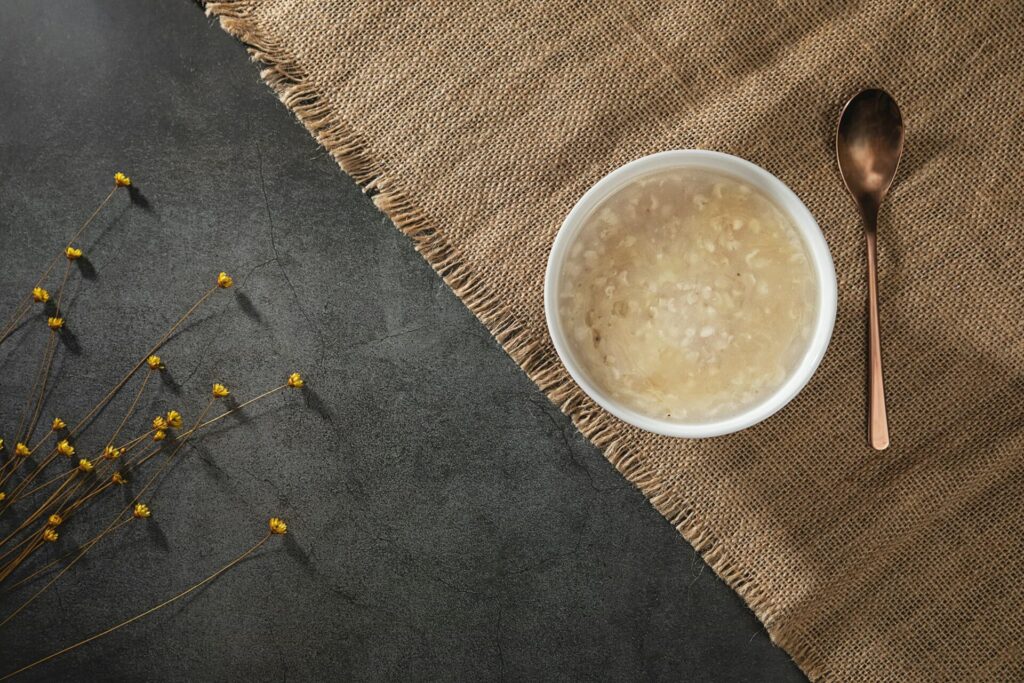
The good news is that making kefir at home does not require any special equipment. You just need a few basics:
Once you have those on hand, you are ready to start your first batch.
The process itself is refreshingly low-maintenance, and most of the work happens while the jar sits quietly on your counter. Here is how a typical batch comes together.
Add 1 to 2 tablespoons of kefir grains to your jar, then pour in 2 cups of milk. Give it a gentle stir with your non-metal spoon, cover the jar loosely and set it somewhere at room temperature, out of direct sunlight.
Leave the jar undisturbed at room temperature. Most homemade batches are ready to strain within 24 to 48 hours, though warmer kitchens can speed things along, so taste it after 24 hours if your kitchen runs hot. You will notice the milk thickening slightly and developing a tangy smell as it ferments.
Once it tastes pleasantly sour and has a slightly thickened, drinkable texture, pour the mixture through your mesh strainer into a clean container. This separates the grains, which you will reuse, from the finished kefir, which is ready to drink or flavor.
Return the strained grains to a clean jar with fresh milk to start the next batch right away. Kefir grains are living cultures, so they need regular feeding to stay healthy, roughly every 24 to 48 hours if kept at room temperature.
A few small adjustments can make a noticeable difference in flavor and consistency, especially while you are still getting a feel for the process.
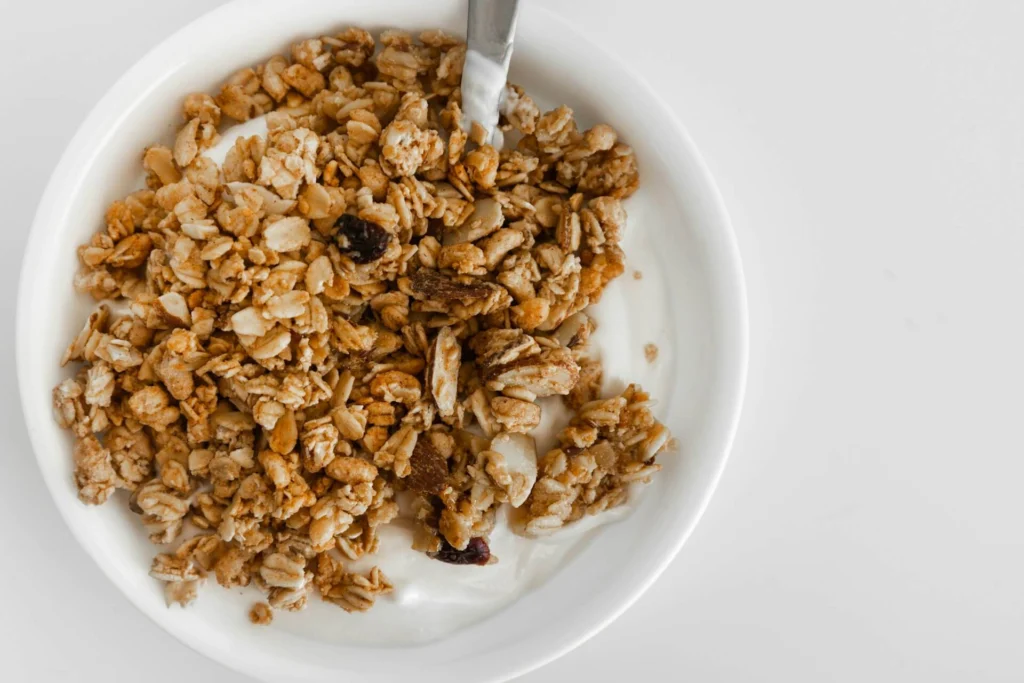
Kefir’s reputation as a gut health powerhouse is not just internet hype, though it helps to know what the science actually supports. Among people who add water kefir to their daily routine, a striking 66% report noticeably easier digestion, along with measurable shifts in beneficial gut bacteria such as Bifidobacterium.
Kefir also supports better intestinal balance and digestion, with early evidence of benefits such as improved cholesterol markers. Most human trials remain small, so kefir works best as one supportive piece of a broader gut-friendly routine rather than a stand-alone fix. Pairing it with other gut-supportive habits, like eating more fiber and staying hydrated, tends to make the biggest overall difference.
Making kefir at home costs very little and takes only a few minutes of hands-on effort every couple of days. Start with a small batch, pay attention to how your gut responds and adjust fermentation time and flavorings until you land on a routine that fits your taste and schedule. Once you get the rhythm down, brewing your own kefir becomes less of a project and more of a habit your gut will genuinely benefit from.

Your email address will only be used to send you our newsletter, and at any time you may unsubscribe. For more information, see our Privacy Policy.
