Body + Mind is reader-supported. We may earn an affiliate commission when you buy through some of the links on our site.
Sick of streaks, patchy ankles or turning an oddly fluorescent shade of orange? Self-tanning can feel like a tricky DIY beauty gamble. However, when done right, it’s a total game-changer for your confidence, skin tone and summer-ready vibes. These self-tan tips will take you from pale to pro.
If you’re still flirting with the idea of self-tanning, here’s your sign to commit. A well-applied tan can make skin look smoother, more even and give you that “just got back from vacation” glow — minus the UV damage. With skin cancer rates on the rise and sunbeds increasingly under scrutiny, self-tanning is the smart girl’s glow-up.
The global self-tanning market is thriving for a reason — people are ditching harmful rays and embracing the faux glow. Whether you want to look bronzed for a weekend wedding or feel more confident in shorts, self-tanning is a simple, safe beauty hack that actually delivers.
You wouldn’t paint a wall without smoothing it first — same goes for your skin. Prepping is the foundation of a flawless tan and skipping it is the fastest way to blotchy chaos. Start with a full-body exfoliation 24 hours before tanning, focusing on dry areas like knees, elbows, ankles and wrists. This removes dead skin cells and prevents the tan from clinging to rough patches like a bad breakup.
Shave or wax at least a day before your tan — never right before or you’ll risk irritation and dark spots. Right before application, apply a light layer of oil-free moisturizer only to the usual suspects — knuckles, toes, ankles, knees and elbows. These areas tend to soak up more product and can turn a few shades darker than intended. Bonus tip: steer clear of oil-based scrubs or moisturizers — they can create a barrier that causes uneven results. Think of this step as skincare meets strategy.
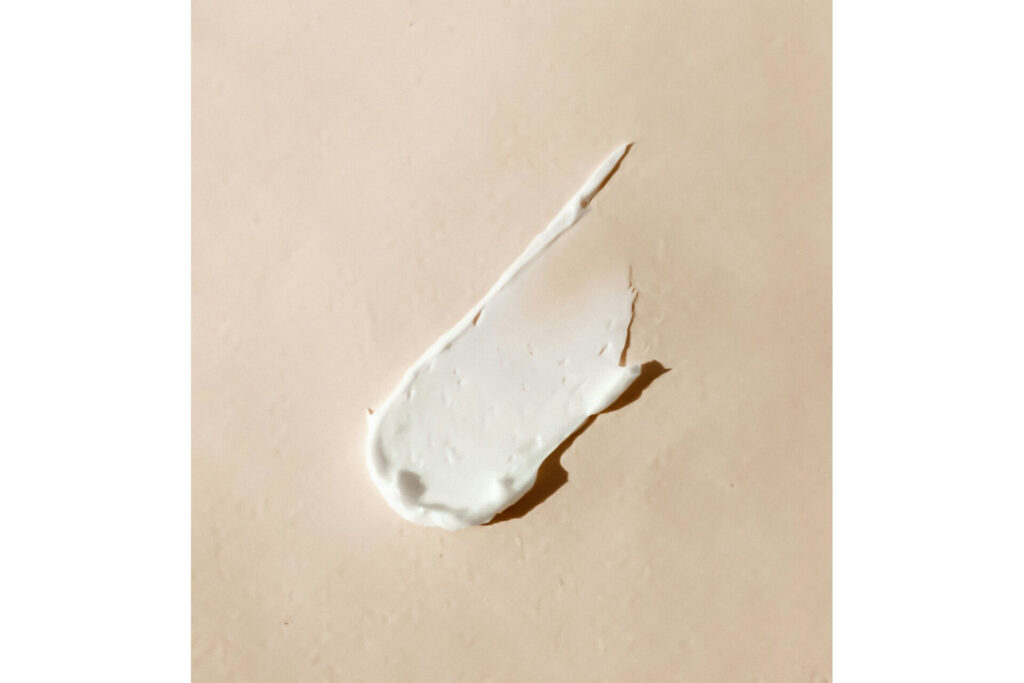
Not all tans are created equal, and choosing the right formula can be the difference between a sun-kissed goddess and a blotchy bronze disaster. First, pick your texture:
Next, consider your skin’s undertone. Got cool or pinkish skin? Go for a green-based tan to neutralize redness. Warm or olive undertones need a violet or caramel-base formula will enhance your glow. And if you’re leaning clean, opt for formulas made with plant-based DHA and no parabens or sulfates.

You might also need to consider your skin type. If you have sensitive skin, self tan might not be the best thing for you. Alternatively, you could find a sensitive skin-safe self tanner so that you don’t manifest a flare up on your skin.
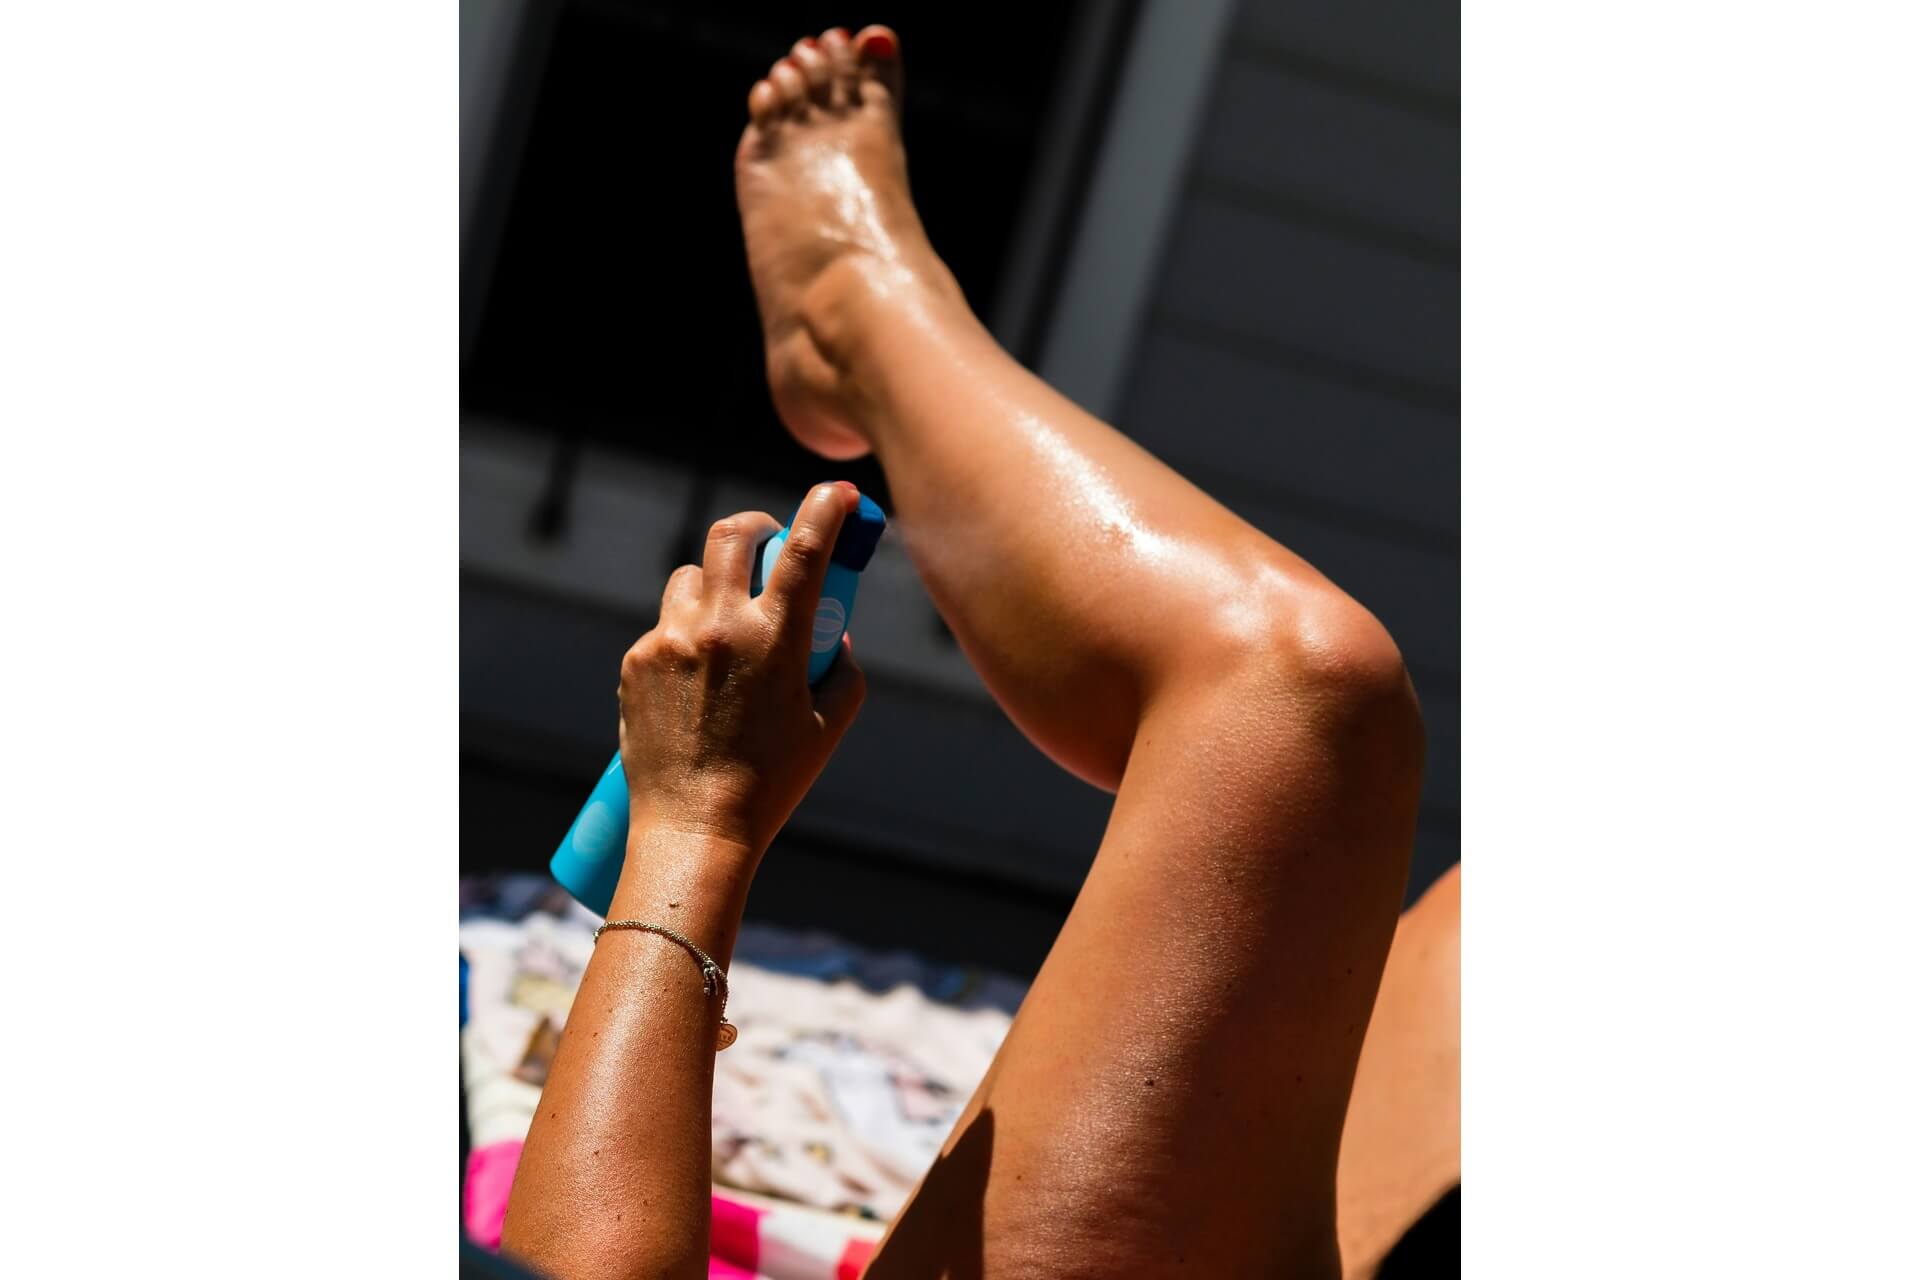
Okay, you’re prepped and armed with the perfect formula. Now comes the moment of truth — application. The first rule is to always use a tanning mitt. It prevents orange palms and helps buff product into your skin for a smoother, streak-free finish. Start at your ankles and work your way up in circular motions — this ensures no creases or uneven patches where your body naturally bends.
Use a lighter touch on dry areas like knees, elbows and wrists — whatever’s left on the mitt at the end is usually enough. Pro tip: for tricky spots like hands, feet and face, switch to a makeup brush or damp beauty sponge to blend the edges. This helps avoid harsh lines or that dreaded “sock tan” look.
Always tan in natural light if possible and give your body at least ten minutes of frying time before getting dressed. Stick to loose, dark clothing and avoid sweating or sitting directly on fabric while the tan develops. And whatever you do — don’t sit on any white furniture.
You’ve nailed the application — now let’s keep that golden glow going strong. Most self-tans take six to eight hours to develop, but always follow the product’s instructions. Some are express formulas you can rinse in two to three hours, others work best overnight. When it’s time to rinse, skip the soap and use warm water. Gently pat yourself dry as rubbing can cause patchy fading.
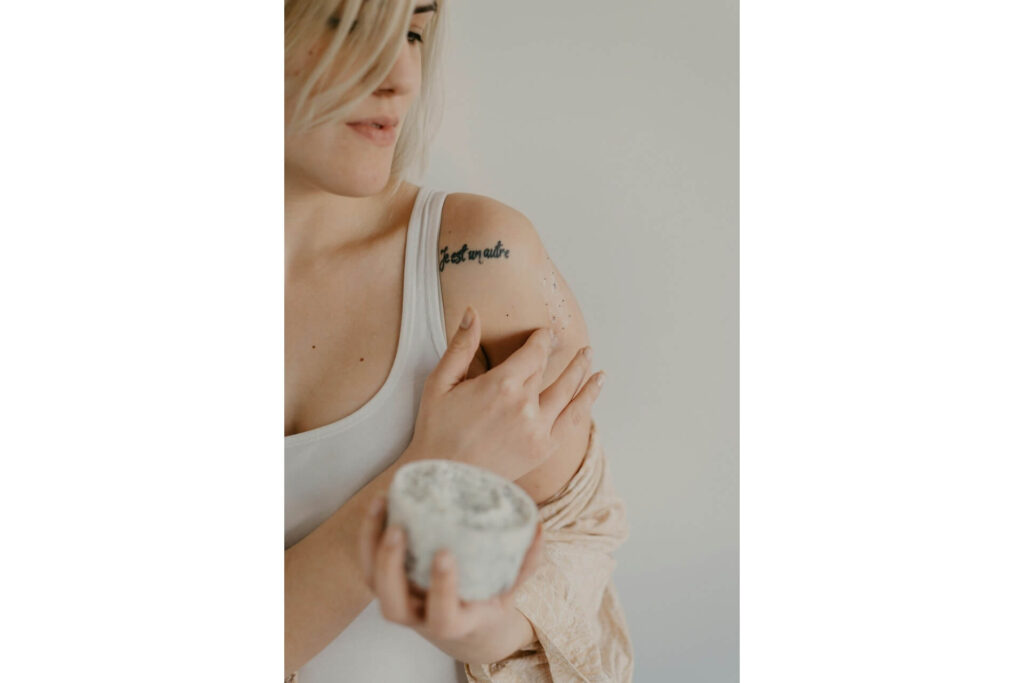
To make your tan last, moisturize daily with an oil-free lotion. This helps prevent the dreaded scaly fade-out and keeps your skin looking fresh. Avoid long baths, saunas and chlorine as they can strip your color. Gentle exfoliation around day five can help the tan fade evenly — and prep you for your next glow session.
If you’re reapplying, do a light exfoliation first to avoid buildup. Think of post-tan care as skincare with benefits — hydrated, glowy skin just hits different.
Even the best of us sometimes end up with streaks or Oompa Loompa hands. The good news is that almost every self-tan disaster is fixable. For streaks or patchiness, mix baking soda and lemon juice into a paste and gently scrub the area. If that sounds too DIY, many brands now sell self-tan erasers or removers with glycolic acid to help fade or reset your tan.
Over-applied on your hands and ankles? Buff out harsh lines with micellar water on a cotton pad or a damp washcloth. If it still looks a little too extra, a light layer of gradual tanner can help even things out. And always, always patch test new products to avoid weird color reactions or skin irritation. Remember, self-tanning is an art — and every artist has smudges now and then.
Gone are the days of smelly, orange, chemical-laden self-tanners. Today’s products are cleaner, greener and more inclusive than ever. Many brands now use plant-derived DHA, cruelty-free testing and recyclable packaging — so you can glow up and feel good about it. Look for labels that say “vegan,” “paraben-free,” or “eco-certified,” and support brands that are shifting toward sustainability.
Beyond ingredients, the cultural shift is big, too — it’s less about conforming to a “bronzed ideal” and more about feeling empowered in your skin. Whether adding a subtle glow or going full glam, your tan, your rules.
Mastering the art of self-tan is a total confidence boost in a bottle — no sun damage required. With the right prep, products and a little patience, you’ll be glowing like a bronzed beauty queen in no time.
Your email address will only be used to send you our newsletter, and at any time you may unsubscribe. For more information, see our Privacy Policy.