Pineapple is more than just a tasty tropical delight — it's a superfood that packs a punch for your skin's health. Whether you consume this superfruit or apply it topically, pineapple offers numerous benefits thanks to its array of powerful nutritional components. In this article, you will discover how pineapple can enhance your skincare routine and benefit your overall skin health.
The Many Skin Benefits of Pineapple
Without going into pages of detail, there are many benefits of this tropical fruit, either derived from its skin, extract, stem or the fruit itself. Some you’ll enjoy by ingesting the pineapple, while others come from treating your skin topically. There are several benefits:
1. It’s a Nutrient-Rich Powerhouse
Pineapple is not just a tasty tropical treat — it’s a nutritional powerhouse offering a multitude of benefits for your skin. This vibrant fruit is particularly rich in vitamin C, which helps produce collagen, the protein responsible for maintaining your skin's firmness and elasticity. Only one cup of pineapple delivers 88% of your daily vitamin C requirement, helping to combat signs of aging and promote a youthful glow.
Additionally, pineapple boasts high levels of manganese, which supports skin health and helps combat free radicals. Its dietary fiber content makes it excellent for digestion, also contributing to your overall health, allowing your skin to reflect your internal well-being. Adding pineapple to your diet is an easy and delicious way to nourish your skin from the inside out.
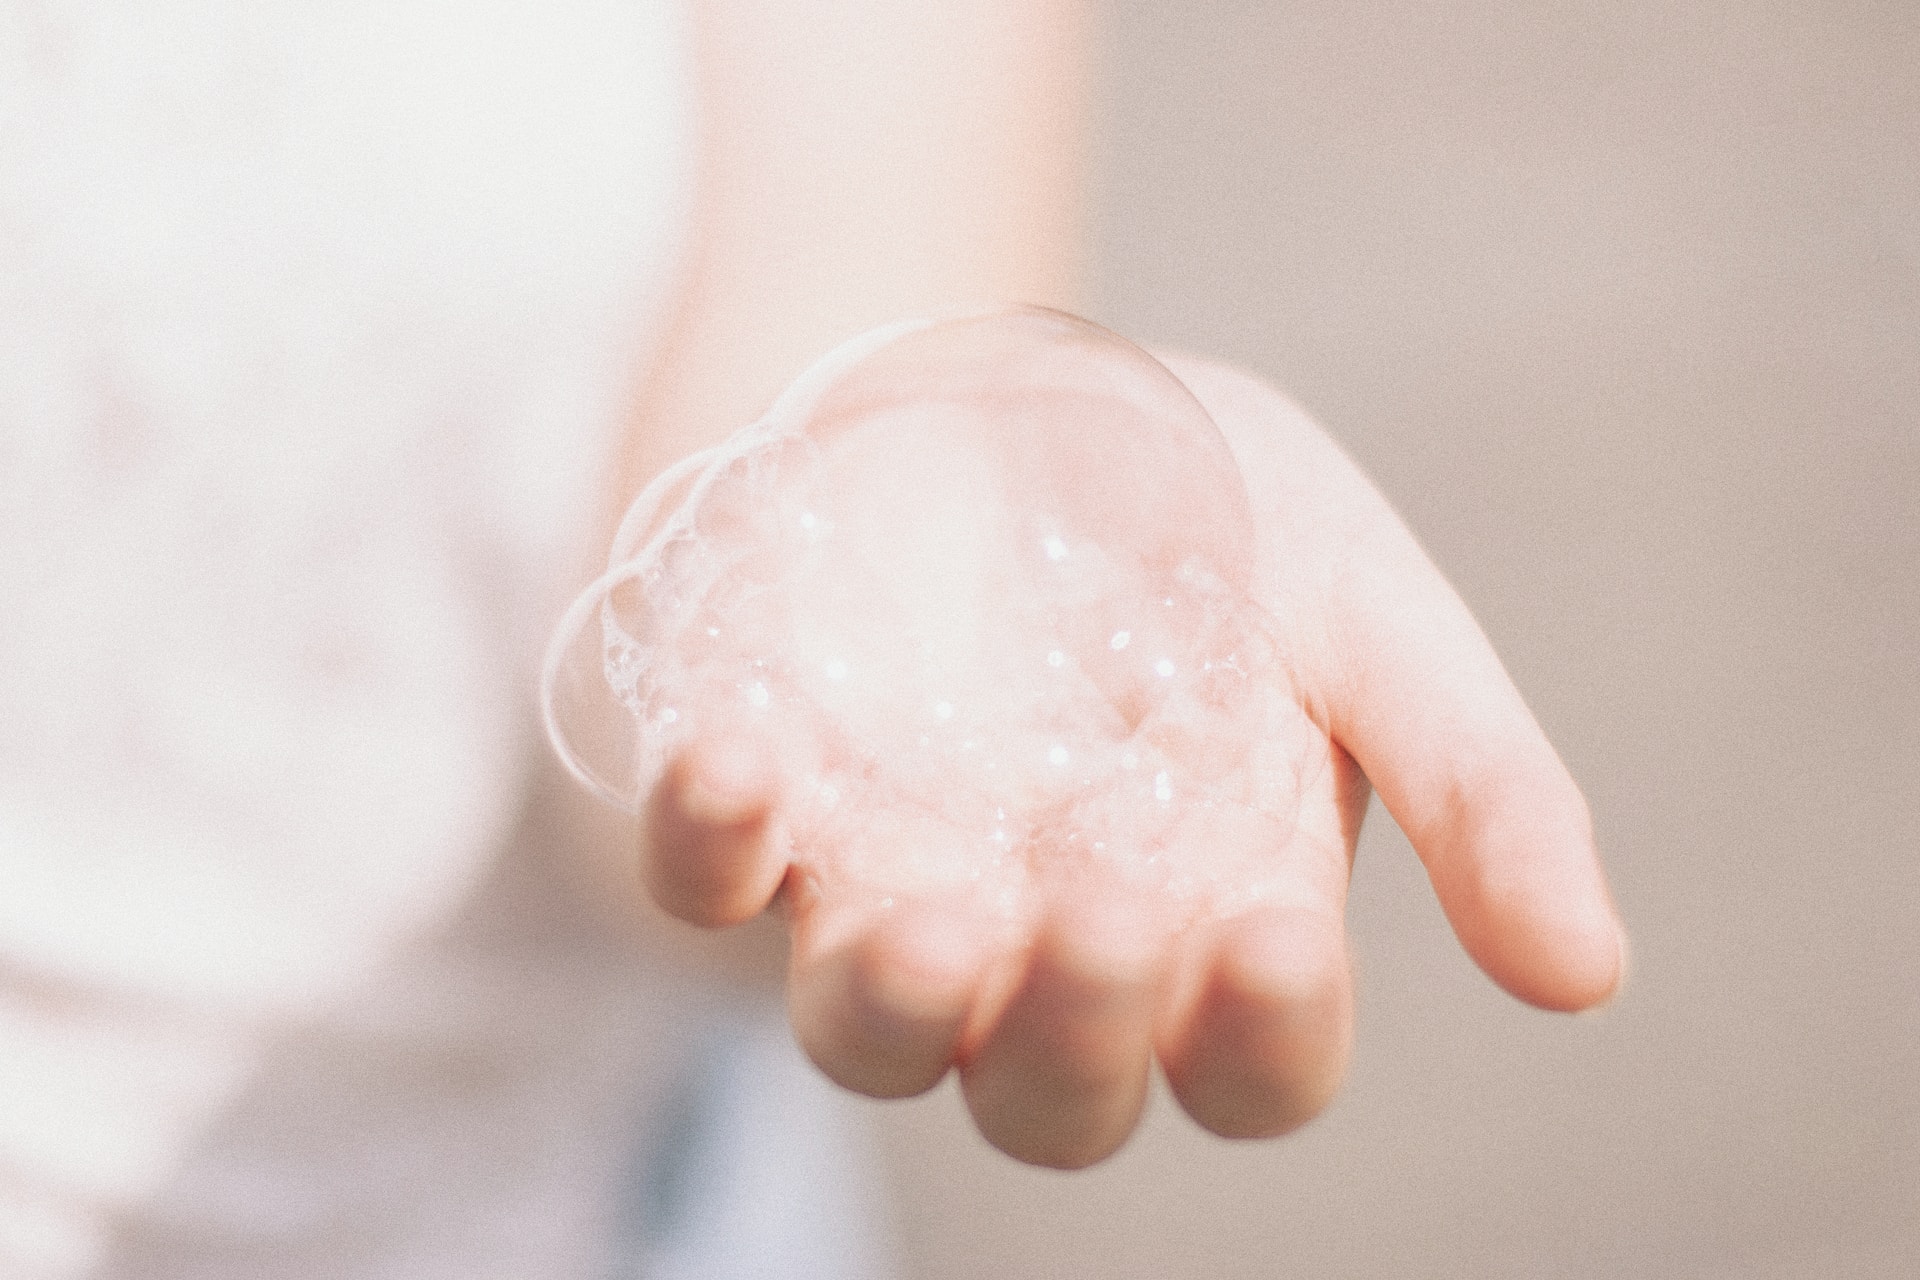
2. It’s an Excellent Natural, Gentle Exfoliator
At the heart of pineapple's skincare benefits lies bromelain, a star proteolytic enzyme known for its gentle exfoliating properties. Unlike physical scrubs that manually buff away dead skin, pineapple's enzymes work chemically, breaking down the bonds that hold dead skin cells together. This process reveals smoother, fresher skin underneath without any risk of irritation associated with abrasive scrubs. The bromelain gently breaks down and dissolves the outer layer of dead skin, effectively renewing your complexion while preserving your skin’s natural moisture.
Thus, pineapple is a fantastic option for those with sensitive skin that may react negatively to traditional exfoliants. Make no mistake, there are some top sensitive skin exfoliators on the market, but finding a formula that supports your skin rather than stripping it is sometimes tricky. Incorporating pineapple into your skincare routine can transform exfoliating from a nightmare to a heavenly experience.
3. It Has Robust Antioxidant Properties
Due to its high vitamin C and bromelain levels, pineapple plays a role in protecting your skin from the oxidative stress that free radicals can cause. These harmful agents can accelerate aging and damage skin cells, leading to visible signs of aging. Eating pineapple regularly provides your skin with an added layer of defense against environmental toxins and ultraviolet (UV) radiation damage.
While UV rays help in human vitamin D production, significant exposure can lead to sunburn, wrinkles, photodamage (skin discoloration and spots) and skin cancers. All of these are contributors to premature aging. Pineapple’s antioxidants, particularly vitamin C, work synergistically to combat inflammation and encourage skin repair, reducing wrinkles and fine lines. By including pineapple in your diet, you’re actively investing in the health and longevity of your skin.
4. It Includes Anti-Inflammatory Benefits
Pineapple boasts some remarkable anti-inflammatory properties that can substantially benefit your skin. You may be prone to skin blemishes or sensitive skin. The natural compounds in pineapple, including the bromelain found in the fruit and the stem, can help by reducing redness, swelling and irritation through lowering the pro-inflammatory markers like IL-1β and TNF-α for much-needed relief.
Applying fresh pineapple juice to your inflamed areas provides a soothing sensation, offering a gentle remedy for pesky breakouts. Its anti-inflammatory effects will calm skin irritations while also supporting the healing process for greater balance and comfort. Pineapple, as part of your skincare routine, whether applied topically or as a delicious dietary addition, will serve a beneficial purpose. Identify your most significant needs and use the tropical fruit accordingly.
5. It Brightens Complexion and Promotes Hydration
Pineapple is an exceptional natural ingredient for brightening your complexion and promoting an even skin tone. Its natural acids work wonders in reducing the visibility of dark spots and hyperpigmentation, helping you achieve that special glow. With its high vitamin C content, pineapple encourages brightness, making it a must-have in your beauty regimen.
Beyond its brightening effects, pineapple is composed of 86% water, making it an excellent source of hydration for your skin. When you incorporate it into your diet or skincare routine, it helps retain moisture, prevent dryness and keep your skin vibrant and youthful.
6. It’s a Natural Acne Treatment
If you experience acne, you know how challenging it can be. Pineapple is a powerful ally in the battle against acne due to its antimicrobial properties, which combat the bacteria responsible for breakouts. Even with stubborn conditions like acne, the tropical fruit helps to reduce the inherent inflammatory cause and, by doing so, improves the overall clarity of your skin. When applied directly, pineapple soothes the heavily inflamed areas, providing quick relief and beginning the healing process.
Pineapple for acne is almost like having a mini dermatologist in your fridge. Its enzymes and antioxidants work together to unclog stubborn pores and enhance your skin’s texture. Pineapple’s zinc may also regulate the excess sebum characteristic of oily skin, thereby tightening the pores and reducing oil production. In doing so, this zinc helps minimize the risk of further breakouts and unsightly blemishes.
How to Safely Add Pineapple to Your Skincare Routine
Adding pineapple to your skincare regimen can enhance your cosmetic beauty. From DIY masks to store-bought products, here’s how to incorporate this tropical superfood safely and effectively:
From Your Kitchen — DIY Pineapple Masks
One fun and beneficial way to incorporate pineapple into your skincare routine is with simple DIY masks.
Hydration mask: Mix half a cup of fresh pineapple chunks with a tablespoon of honey. Apply this blend to your face and leave it there for 15 minutes before rinsing with warm water.
Exfoliation mask: Combine some pineapple with a tablespoon of yogurt for a gentle and soothing mask. Once again, leave your face covered for up to 15 minutes before rinsing in warm water.
Always perform a patch test first before applying fresh pineapple to your face, as its acidity could irritate hypersensitive skin.
From the Store — Pineapple in Skincare Products
Numerous recognizable brands now incorporate pineapple extract or bromelain into their formulated serums, masks and cleansers. These products are regularly pH-balanced for safety, making them convenient and practical ways to enjoy the benefits of pineapple without any DIY fuss. Check the labels or ask a salesperson for assistance, especially regarding the pH balances.
Add a Sweet Addition to Your Glow
Pineapple is a delightful way to enhance your skincare routine, offering multiple benefits that help achieve healthy and radiant skin. Packed with vitamins, antioxidants and natural exfoliants, this tropical treat can brighten your complexion and hydrate your skin. Whether you prefer to enjoy pineapple as a refreshing snack or apply it as a soothing mask, it’s a remarkable, natural choice for supporting your skin’s overall health. So go ahead, indulge in some pineapple and let your natural glow shine through!