Body + Mind is reader-supported. We may earn an affiliate commission when you buy through some of the links on our site.
Curling hair after a shower can be more difficult than waiting a day after you’ve showered, but it can be done. Make sure you set aside enough time to take care of your hairstyle. If you want to curl your hair effectively, second-day or dirtier hair will typically hold curls better. Still, you can manage to form curls that won’t fall out immediately, even with freshly-washed hair. Follow this guide to learn everything you need to know and what to do with curly hair after a shower
When you’re planning to curl your hair, especially after you’ve just washed it, you’ll have to use plenty of tools to keep it safe and allow the hairstyle to hold. Curling hair after a shower doesn’t have to be complicated — it just requires a different method than when you use day-old hair. Having these tools on hand will help you create curls that last, even after you’ve just showered.
Hair mousse is typically used for styling purposes. It helps volumize your hair and prep it for other products by keeping it in place. You may choose to add mousse to your hair before you start curling it to help it hold its shape. Since you’ll have freshly washed your hair, more products will help your hair hold the curls for longer.
Keeping your hair safe is important. Using heat on your luscious locks can damage them, so any sort of heat protectant you can use to keep them healthy is a great idea. You can also create home recipes to strengthen your hair so it won’t be easily destroyed through styling processes in the future. You can apply certain recipes to your scalp to help your hair grow healthier, but you should always protect your hair from heat by using special products.
Your curling iron is the magic wand to help you curl your hair. You can create heatless curls, but these curls often rely on you sleeping with rollers and don’t stick around for very long. The most common sizes of curling irons go from 1″ to 2″ diameters, from smaller to larger barrels. The size of the barrel depends on the size of the curls. If you want your curls to last a long time, use a smaller barrel for smaller, tighter curls.
Texturizing spray isn’t the same as hairspray. While they both come in pressurized cans, texturizing spray isn’t as crunchy as its counterpart. Texturizing spray creates texture and volume without freezing your hair as hairspray does. While it isn’t a substitute for hairspray, texturizing spray can help your curls hold for longer, so they don’t fall out as you continue your day.
Figuring out what to do with curly hair after a shower might be a bit difficult at first, but learning the process is pretty easy. You need to memorize a few steps so you don’t cause harm to yourself, but other than that, it might be similar to the methods you already use when curling your hair. Try these steps the next time you want to curl your hair after a shower.
The first step of curling your hair is to ensure that it’s dry. If you want to avoid potentially burning your scalp, you should only use your curling iron once your hair is completely dry. Wet hair and curling irons don’t mix. To avoid bringing any danger to yourself, opt for fully dry hair before attempting to style it.
The best way to start out any hairstyle is to divide your hair into smaller sections that are more manageable to work with. That way, you can go section by section and curl the hair. If you’re opting for larger curls, you might use thicker sections of your hair. Clips will help you hold the other sections in place, and they can be tremendously helpful when working with smaller sections. Of course, you can always work as you go.
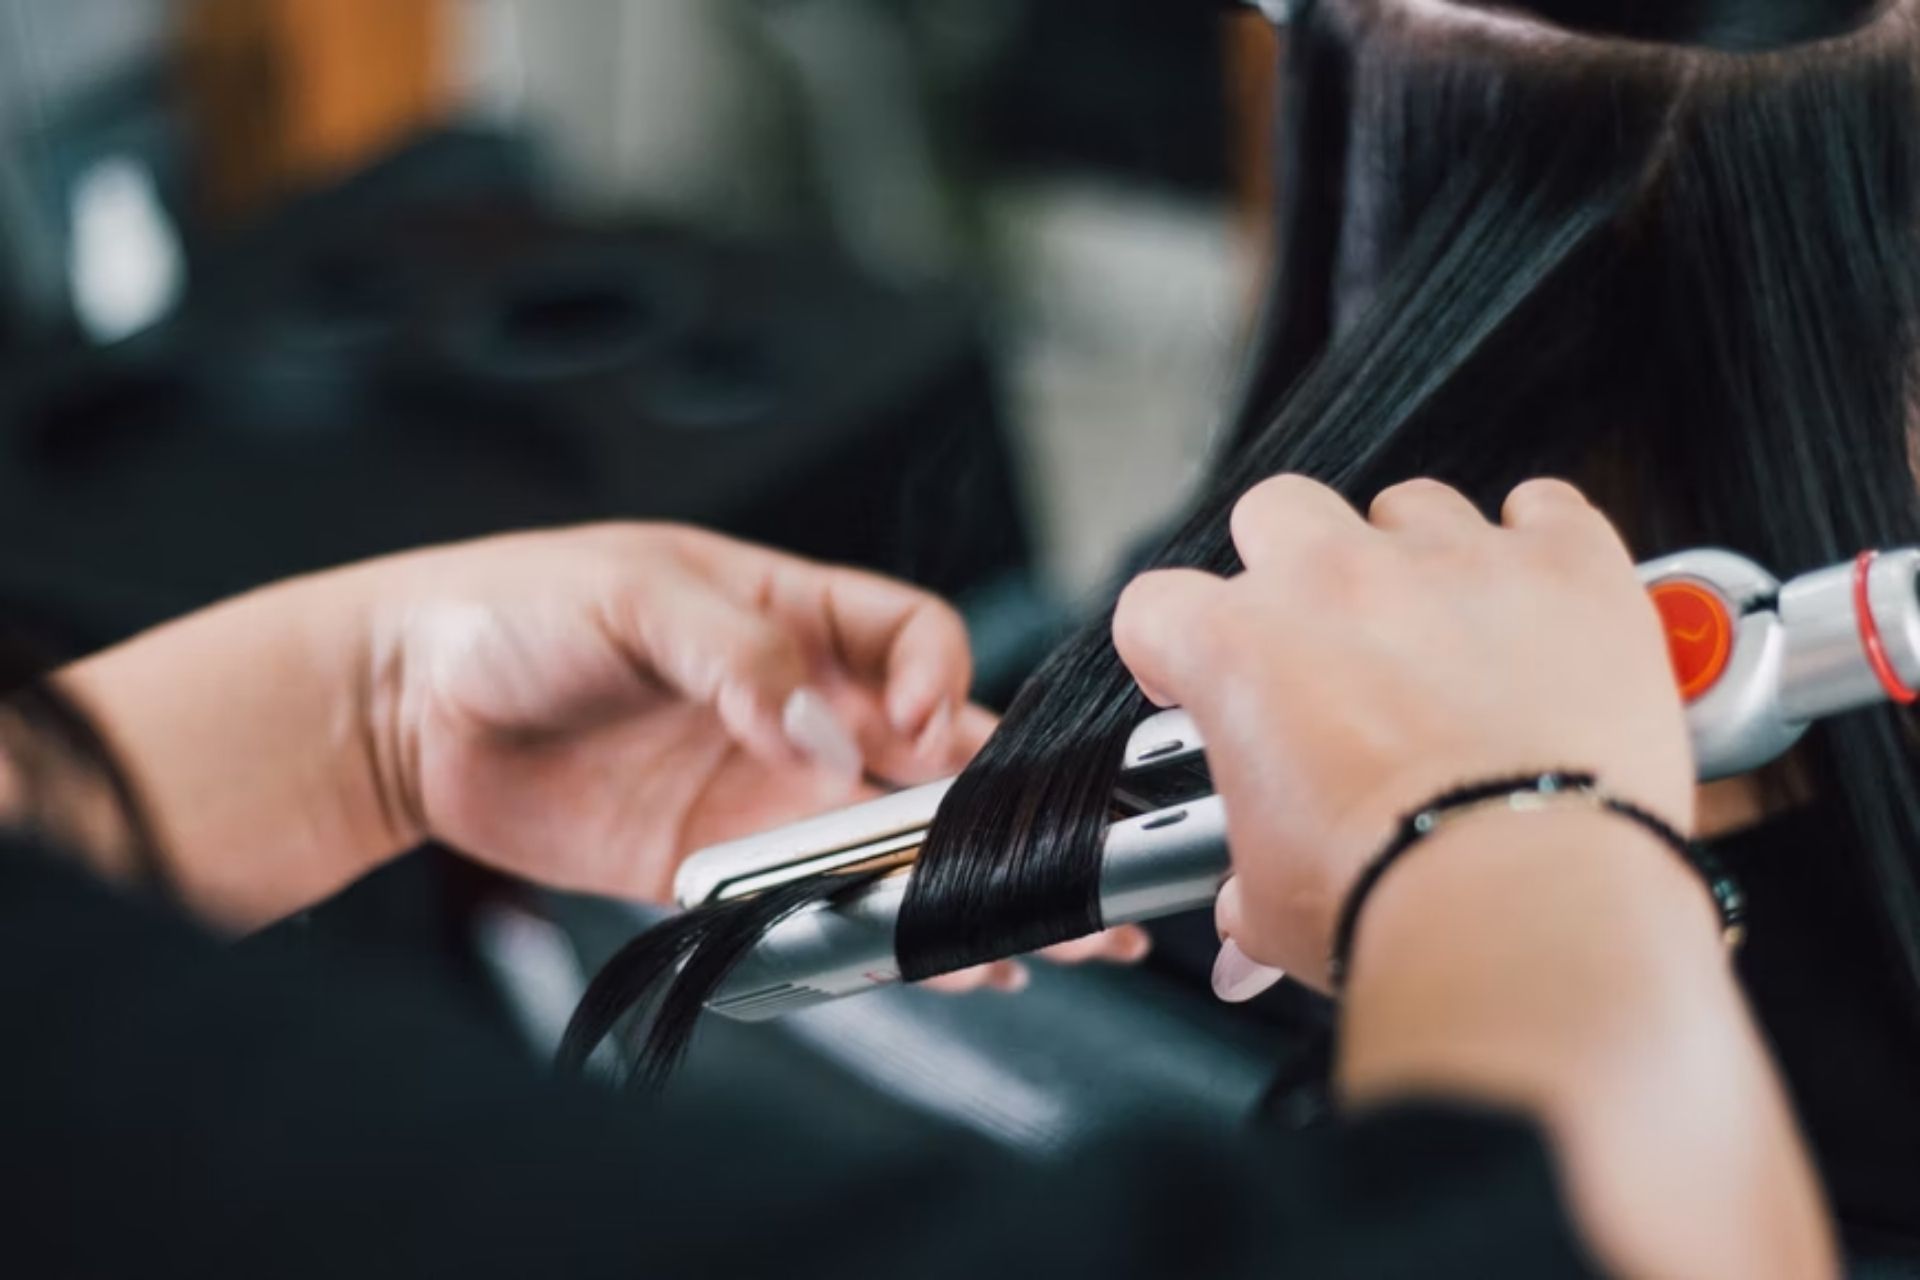
When you can use your heat tools on a low setting, you can better protect your hair from any damage. Heat protectant spray can leave your hair soft and silky, even while operating tools on their highest heat settings. Avoid burning yourself by working slowly through each section. Working slowly ensures that the job is done correctly and that you feel proud of your curls once you’ve finished.
Texturizing spray will make your hair hold the curls better and give the appearance of more volume. Just a little spray can go a long way, so don’t feel like you need to use a lot to make your hair look voluminous. It helps keep your hair bouncy and less weighed down. Just make sure not to touch your curls after you’ve applied the texturizing spray.
Most people tend to curl their hair on a different day than when they washed it. It’s an easy way to make your hair last longer and look good without an additional wash. Still, figuring out what to do with curly hair after a shower can be done — you just need to be aware of the products and methods you’ll need to accomplish it. That way, you’ll be able to enjoy your curls all day, no matter how long it’s been since you last washed your hair.