Extensions are just like a great relationship. It’s present with you through day or night. They help build up your self-esteem. They let you experiment with different things. But just like all things, they can’t stay forever. It is essential to recognize your hairpieces' limitations and accept how long do hair extensions last. How Long Do Hair Extensions Really Last? Extensions as they are can last from a few months to a whole year. Some can even go up to two years, but that’s under the presumption you won’t use them. You can usually tell your hair extension’s life span is over when it starts to shed different strands or dry up. If you feel uncomfortable wearing the hair pieces, a replacement may also be time. Factors Affecting Your Extensions To narrow down how long do hair extensions last, assess a couple of factors. The main ones to look out for are hair extension type, quality and use. 1. Type of Hair Extensions The life span of certain hairpieces can change depending on your type. Many variations are available online and in stores, which explains why the global hair wigs and extensions market is projected to hold a value of $13.28 billion by 2026. Here’s an overview of different types of hair extensions and how long they may last with regular use: Clip-in hair extensions: Clip-in extensions are hairpieces attached to small metal clips you connect to your current hair. These weftts can be quite voluminous in nature, especially if they’re big in width. They can last around three months to about half a year. Tape-in hair extensions: Tape-in extensions offer a seamless look to your hair, installing strands with a pre-glued tab. A precise applicated is required when putting on tape-ins. When cared for properly, they can last about two to three months. Sew-in hair extensions: Also known as permanent extensions, sew-in hair extensions are strands sewn on an almost transparent cloth strip. Thanks to their application, they can adhere to your hair quite well compared to glued options. But contrary to its name, permanent extensions only last about less than three months. Fusion hair extensions: Fusion hair extensions or bonded hair extensions are hairpieces attached to the hair with keratin bonds and heat. These hair pieces last for about three to six months. Headband wig: A headband wig can help you get ready in minutes, adding instant style and volume to your hair without a fuss. As a headband wig is easier to apply and remove than other extensions, these can last for a year or more. 2. Hair Extension Quality Quality can also be a significant determining factor in how long your locks will last. High-quality human hair extensions can be quite an investment, but they seem more natural when worn. Human hair extensions also have quite a longer life span. Meanwhile, synthetic extensions are prone to damage despite being affordable. 3. Frequency of Use How much you intend to wear your extensions can impact their life span. Putting them out of storage and using them can expose the hairpieces to various environments. If you intend to use them regularly, it’s important to care for them. Low use and good maintenance routines can extend the quality of your hairpieces. Tips to Keep Your Hair Extensions Long-Lasting Now that we know how long hair extensions last, the next question is how to make them long-lasting. There are a variety of maintenance tips to adopt in your routine to keep your hair extensions quality and usable. 1. Be Conscious of Heat Damage Heat damage is the number one enemy of hair extensions, especially clip-ins and tape-ins. When you warm up the glue that binds all the pieces together, it can make the strands slip off or split apart. Try not to stay out in the sun too much. Opt for heat protectants if you want to use a hot curling iron or straightener to style your hair. 2. Avoid Sweating During Wear Having a nice head of hair at the beach or pool can give you a photogenic look. However, it’s recommended to leave the extensions out if you plan to go swimming. This can ensure you aren’t exposing the hair pieces to chlorine or ocean salt, which can frizz up and damage your faux hair pieces. 3. Protect Your Hair When Sleeping Ever woke up like Anna from Frozen? The tangles can deplete the life span of your hair extensions. Consider putting all your hair in a cap and scarf when heading to sleep If you move around too much, consider satin pillowcases. This material is perfect for lessening friction on your hair strands. They work for your natural locks, as well as your extensions. 4. Check Your Hair Product Details It’s essential to be vigilant with what products you use, especially when you have extensions on. Even human hair variations can be affected by certain ingredients. For instance, different kinds of sulfate and alcohol can dry out your hair. Meanwhile, shea butter products can pump in moisture to your hairpieces. 5. Moisturize and Condition Keep your extensions moisturized if you want to keep them around for a while. Conduct a weekly deep conditioning routine to tend to these hairpieces. Ideally, you’ll use a moisturizing shampoo and leave-in conditioner. When you rinse, remember to skip the blower and give them ample time to air dry. 6. Brush Regularly Make a habit of brushing your extensions. Make sure that these locks are dry as you go through them. A bigger brush with multiple bristles can help gently pull out tangles. You can also practice using your fingers to comb through the strands. Just be mindful of which parts of your natural strands the extensions are attached to. 7. Ensure Proper Removal and Storage If you want to give your extensions a break, remember to follow the removal process for your hairpiece. Go to a professional hair salon if you have to. And once they’re out of your hair, store them away properly. You can neatly stack the extensions away in a bag and hide them in a cabinet. Ensure they’re at room temperature and free of tangles to prevent damage. Make Your Hair Extensions Last Longer Extensions may only last for a couple of weeks, so most people recommend getting multiple sets under your possession. However, you can also preserve their quality by using the ones you already have. Follow the tips above to keep your hairpieces and overall look fabulous.
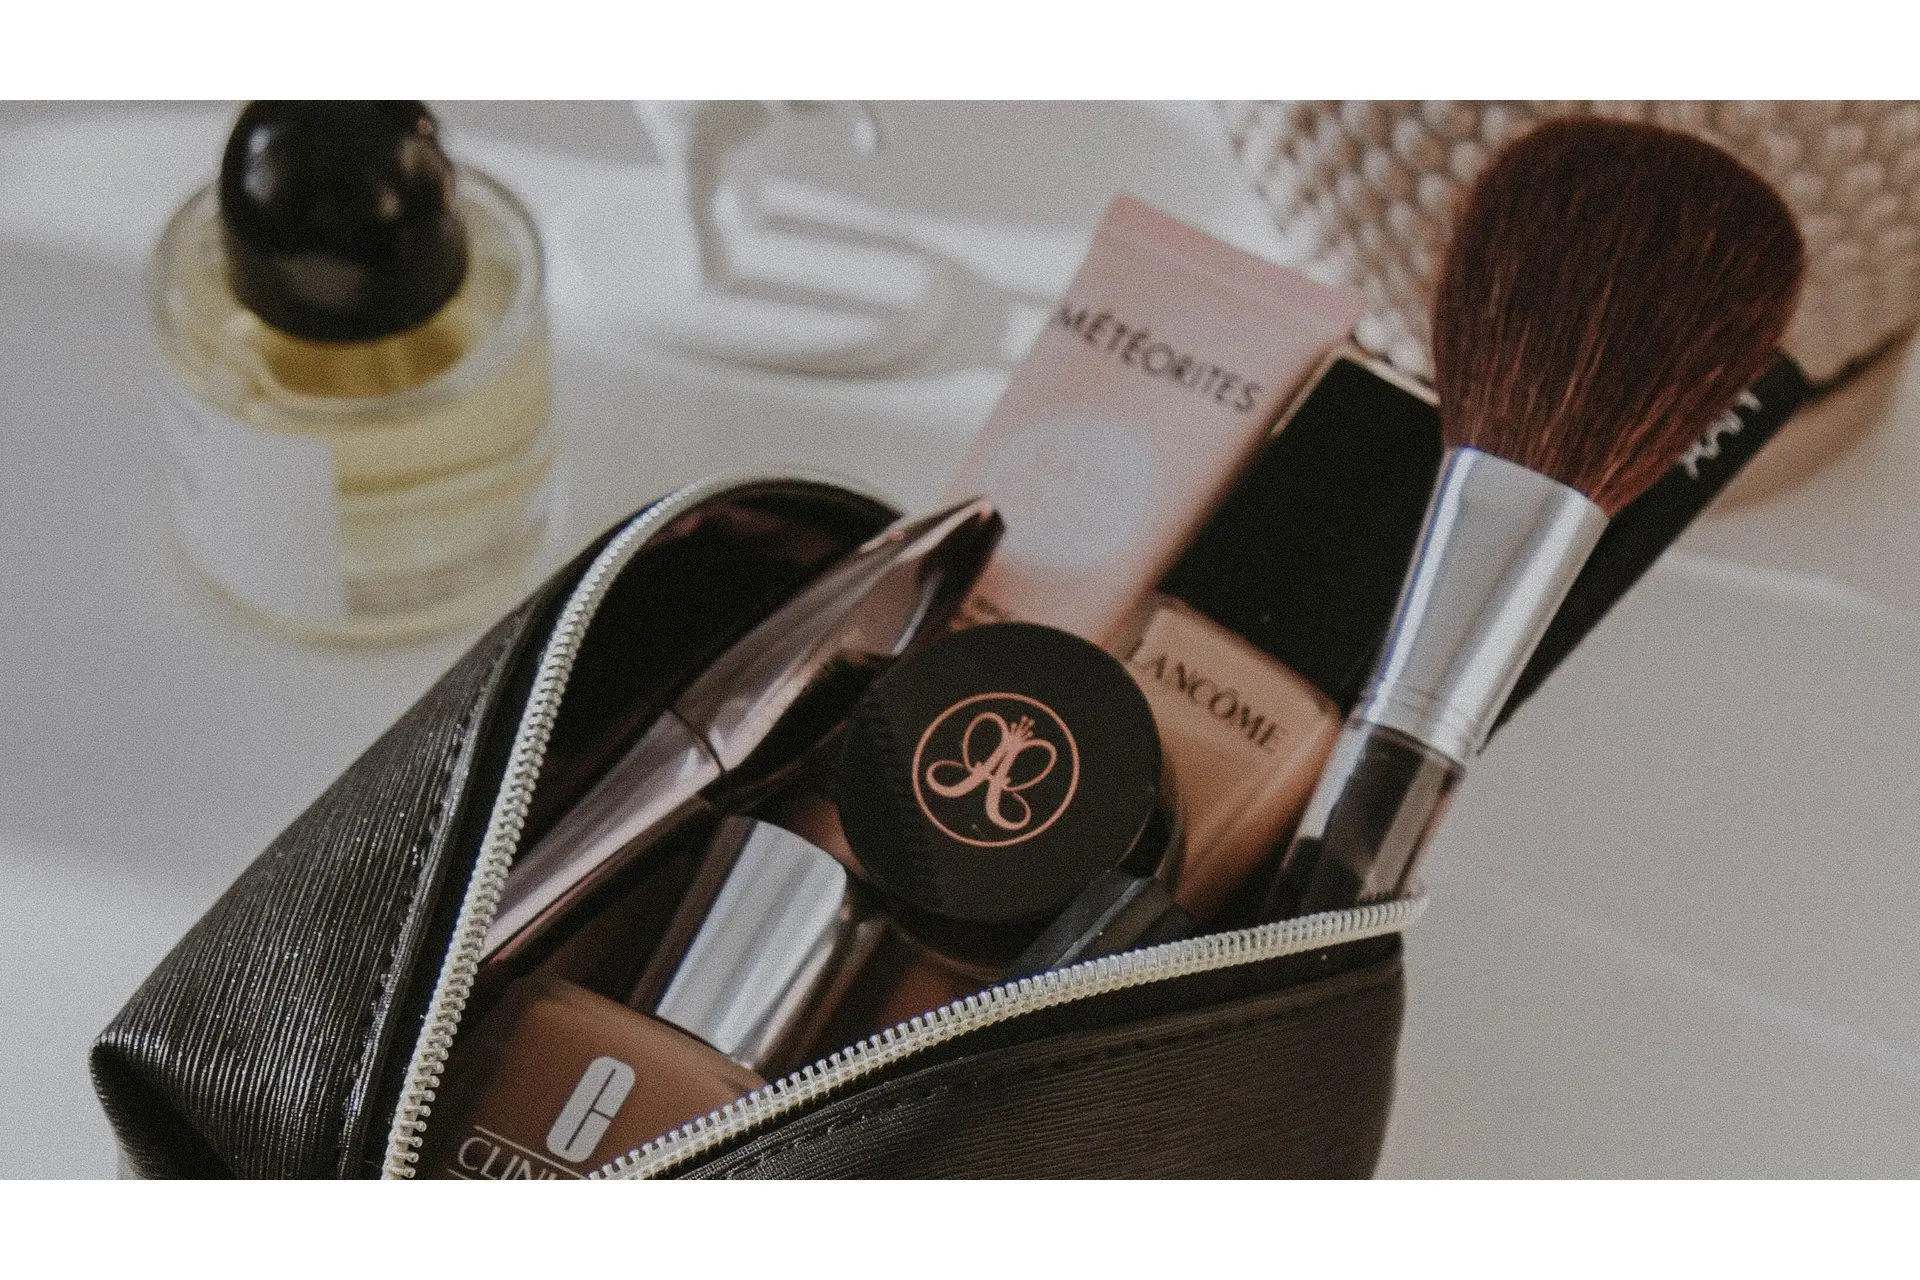
Understanding how to apply foundation with a brush is vital for your makeup routine. It becomes the base for your whole look, after all. There have been a variety of trends throughout the years, from beauty sponges to a thin makeup spatula. But this technique and tool has stood the test of time for a reason. How to Properly Apply Foundation With a Brush Brushes give you more control when applying your makeup base, as well as other cosmetic products. When laying foundation, there are several ways you can approach this. This outline will provide some general steps for applying foundation with a brush. 1. Pump Out the Foundation Some people like to apply a bit of foundation to their face from the very start, while others pump product on the brush directly. While this can work, it can get messy quite quickly. It’s recommended to get one to two pumps of foundation on the back of your hand. Adding makeup product to the back of your hand lets you gauge how much to use. One to two pumps should work fine for your whole face, but it can depend on the formula of your foundation. 2. Tap Your Foundation Brush Tap your makeup brush to the back of your hand to get the product on the bristles. Applying the product with anything bigger can be challenging since they can’t get into the nooks and crannies. Meanwhile, smaller brushes take forever to finish your base. Thus, look for a medium-sized brush. It’s ideal for the brush to have a flat top so that the product is evenly taken and distributed throughout your face. Some people also find that a rounder top brush works just as well for them. 3. Start In the Center and Spread With the foundation on the brush, start adding the foundation. It’s best to start with the center of your face, so apply it to your cheeks and forehead. Keep the layer thin by tapping and buffing the product to your skin. Dragging can create streaks, so just dab the makeup on. Slowly spread the foundation by buffing it to the other parts of your face, down to your lower cheeks and chin area. When you have a little bit left on the brush, add that coverage to your nose. Too much product in this area can make you look cakey, so just use any remaining product on your brush to finish the foundation. Tips On Applying Foundation With a Brush Applying foundation with a brush has its own steps. In addition to that, there are a couple of tips that you can use to ensure that your technique will lead to a more flawless base for your makeup. 1. Know How to Work Your Foundation The guide above is meant for liquid and cream foundations, as most people use it for their makeup routine. However, other types of foundation require a little more effort from you and your brush. Here are a few examples: Serum foundation: Serum foundation or skin tints have a more watery consistency due to its ingredients. Shake up the packaging to ensure it’s mixed up well. If it’s still too thin and runny, you may have to apply the product with your fingers before going in with a brush. Stick foundation: Stick foundation is a more solid cream foundation in a twist-up component, similar to lip bullets. It is possible to warm this up as you rub the foundation on the back of your hand. You can also apply it directly on the face before buffing it out with a brush like normal. Powder foundation: Powder foundation is a good option for those with oily skin since it can help mattify your skin. Unlike other foundations, you can just tap your brush on the product directly and apply it. Some people may change their brush type to a bigger and fluffier one for less coverage, but a flat, rounded top still works best. 2. Tap Off the Excess Many people use numerous pumps of foundation, but it’s essential to be more conservative with your product use. It’s also an excellent principle to tap off the excess product on your brush before applying the foundation to the face. Removing the excess keeps the foundation thin, which creates an even application. 3. Blend To Your Neck and Ears Most stop applying their foundation with a brush when their whole face is covered. However, it can be a little jarring when your ears and neck are a different color. Use your remaining product for those areas to ensure your face isn’t off from the rest of your skin. If you’re wearing a top that exposes your chest, consider applying a little foundation to that area as well. 4. Add More In Certain Areas It’s natural to have some areas you want to cover a little more than others. Apply some extra foundation with a brush to these parts of your face. For this part, use and blend with a classic flat foundation brush. You may also want to look into a smaller concealer brush for a precise application. Other Ways to Get a Good Makeup Base There are other ways to get a smoother makeup base besides the way you put it on. Take these additional tips for before and after foundation application. 1. Find The Right Foundation Various foundation types can sit on your face differently, depending on your skin needs and type. Try to identify what the best formula for you is. Aside from consistency, take a look at the ingredients. It’s best to have a clean, cruelty-free foundation to stay away from parabens and synthetic components. 2. Take Care of Your Skin Foundation goes on the skin, so it’s important to take care of it before and after putting on makeup. Cleanser and toner are your best friends for ensuring no cosmetics are lingering on your face. Try to make a habit of moisturizing too to avoid dry or cracked skin in the long run. 3. Have a Quality Foundation Brush Some people get the brush shape right, but they often skimp on the quality of this makeup tool. Get a good brush that doesn't shed during application. If your brushes are a little old, consider getting new ones. Try to change makeup brushes every three to five years, but it depends on their overall care and state. 4. Prime and Set Your Foundation Makeup comes in layers. The foundation should come after a primer, preferably a mattifying or smoothing one depending on your skin type. After applying the base, add powder and use a setting spray to lock your foundation in. Make Your Foundation Flawless Foundation application may seem quite meticulous. It can take trial and error for those starting, but it’s an essential step in ensuring that your makeup comes out great. Try out the tips above and kick off your routine right.
Your email address will only be used to send you our newsletter, and at any time you may unsubscribe. For more information, see our Privacy Policy.